


Once you've chosen your Tiles, it's time to fix them in place using the correct adhesives and grouts. We have a great selection of tile adhesive to choose from; suitable for every surface type - whether you're tiling a wall or floor inside or outside. We also have a fantastic variety of tile grout, along with a range of Accessories and Tools to help you complete the job!
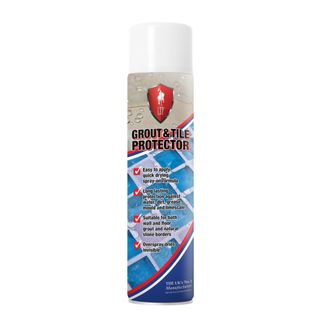
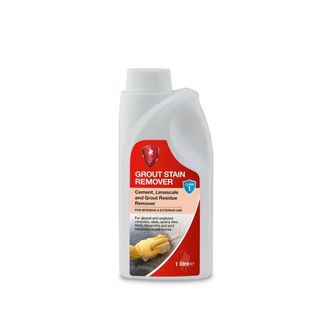
Before purchasing adhesive and grout, check the manufacturer’s information for the tiles you are using, as they may require specific products. Some tiles, such as our crackle glaze tiles, will need sealing to maintain their characterful appearance, and interior tiles will require different grout and sealants than our Outdoor Tiles.
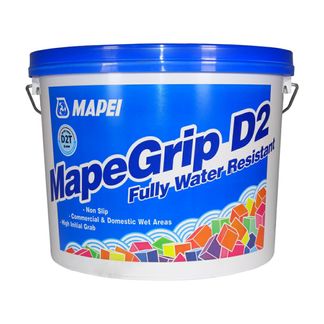
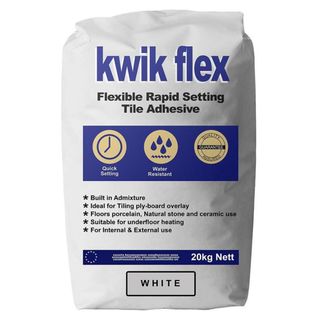
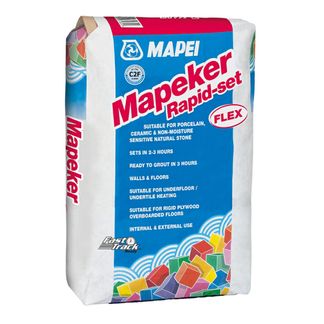
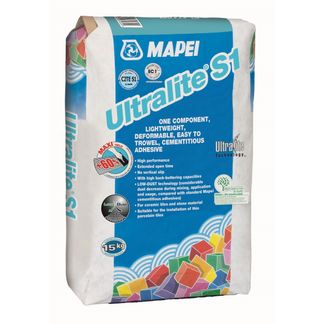
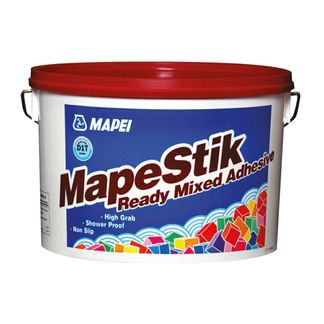
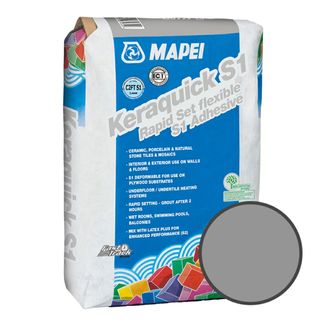
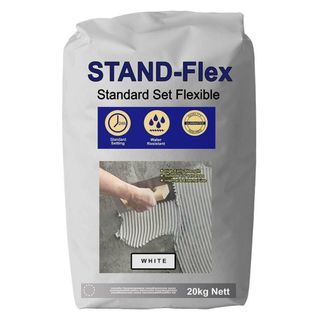
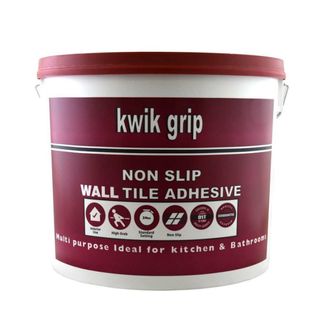
Adhesive: get stuck in!
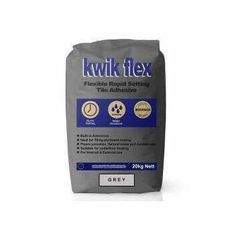
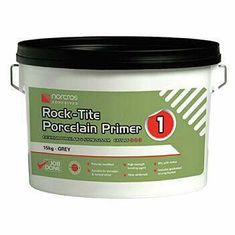
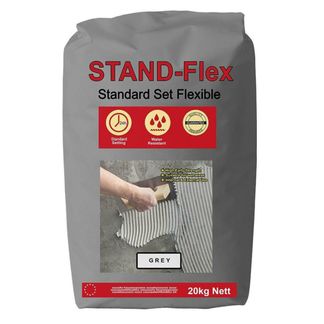
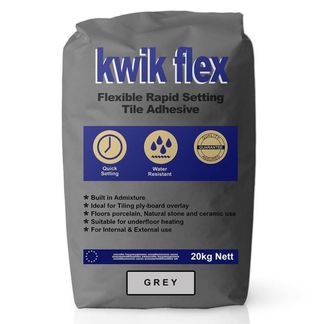
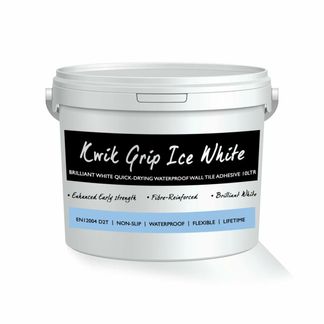
Once you've chosen your wall or floor tiles, it's time to securely fix them in place, ready for the grouting process to begin. We have a wide range of trusted brands to choose from, including Norcros, Mapei and LTP. Lots of tile adhesives come in a powdered format, which means having to read the label to find out the mixing quantities, and then pouring particular parts of adhesive powder and water into a bucket, and mixing it to the right consistency. If you don’t want the fuss, then a ready-mix adhesive might be better for you!
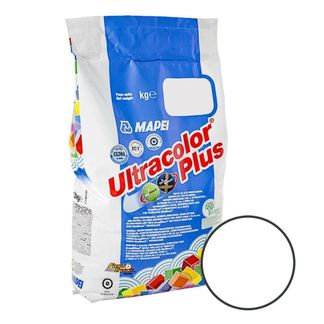
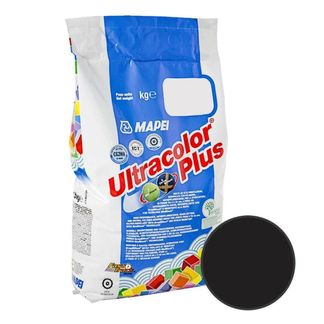
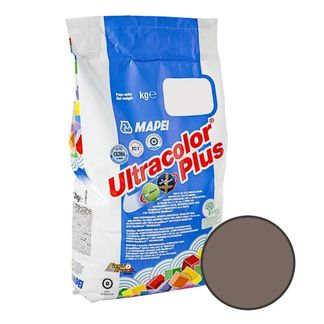
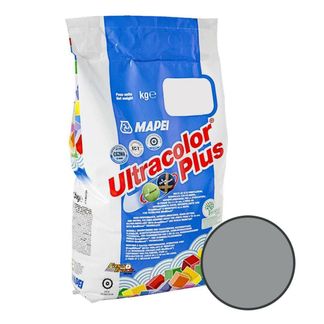
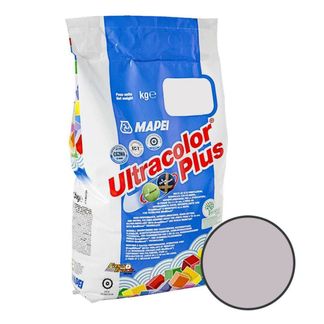
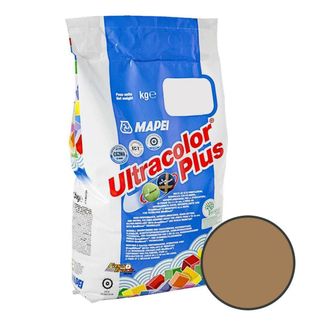
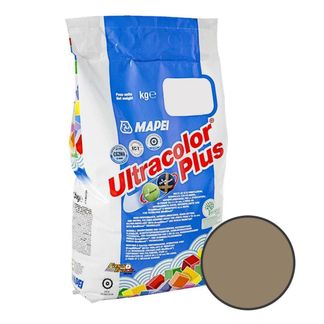
Grout: the finishing touch
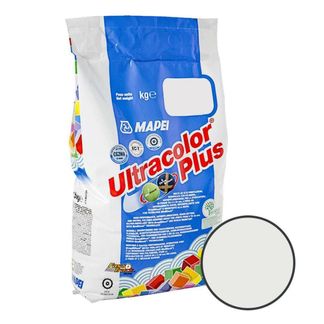
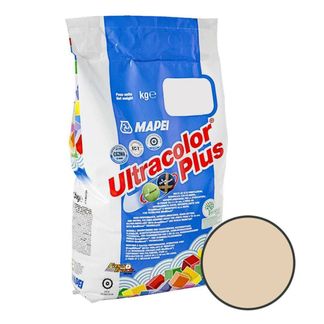
Grout can make a big difference to the look of your finished tiling project, so it’s important to choose the right one for your style! When working with White Tiles, white or grey grout can be used to create a smooth seamless look, which is often achieved with light coloured stone and marble effect tiles. Darker grout can also be used, however, to create a bold, contrasting look that highlights the crisp lines of metro or mosaic tiles.
Looking to do some DIY? Check out our blog, How To Grout Tiles: Grouting a Wall or Floor for advice.