How To Install Luxury Vinyl Flooring Planks or Tiles
Introduction
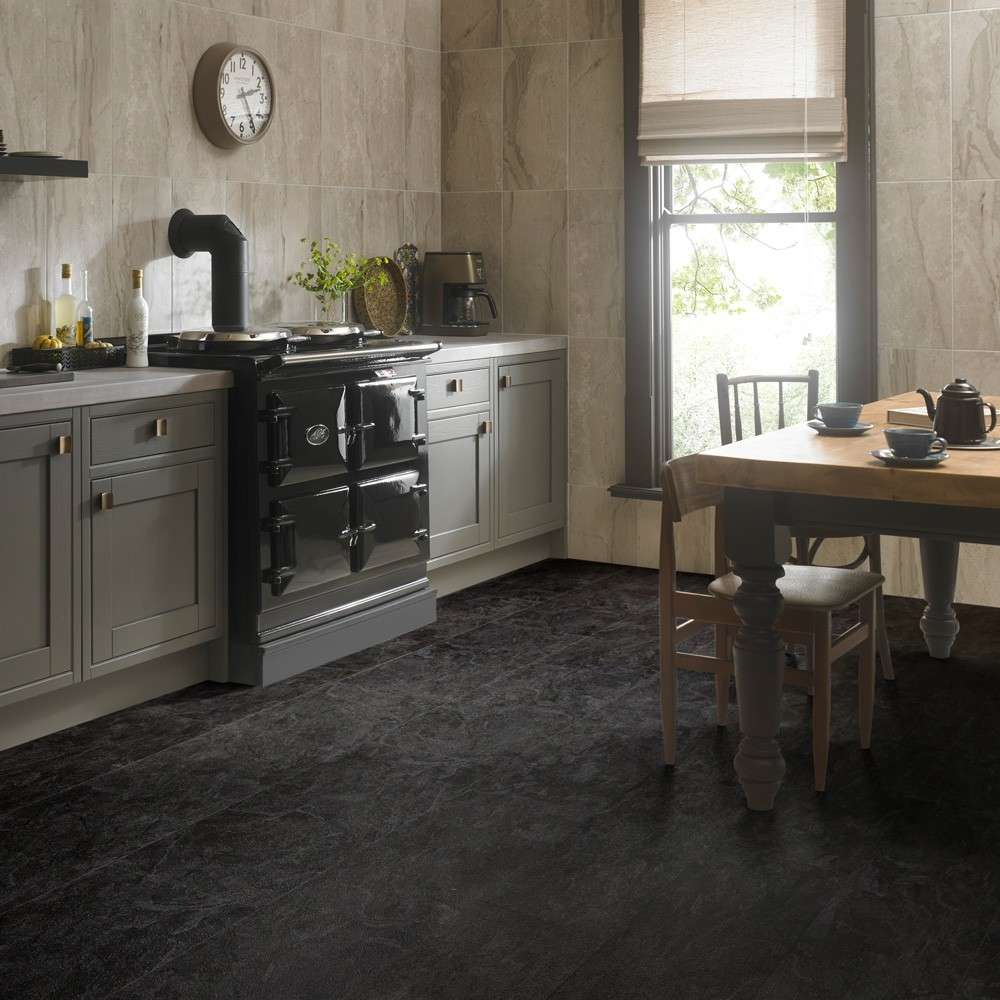
It’s extremely easy to install Luxury Vinyl Flooring Planks or Tiles. They form a floating floor, which means you don’t need to use adhesive. Usually, you’ll lay the planks or tiles along the longest wall in the room. The edges click together simply and easily; forming a waterproof seal!
Because they’re only 4mm, it means you can cut Luxury Vinyl Tiles or planks with a sharp utility knife! Simply cut your line into the surface, apply pressure on one side of the cut, and then snap the other side upwards (or downwards if you’re working over the edge of a workbench or table).
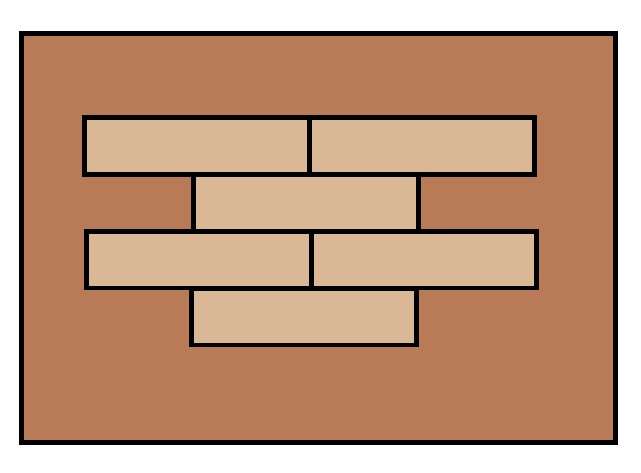
For extra strength, it’s genuinely recommend to lay the planks / tiles in a half-and-half brickbond layout.
How to Cut Vinyl Plank Flooring Around A Toilet or Obstacle
If you’re installing vinyl plank flooring in a bathroom or water closet, you’re probably going to need to cut around a toilet. Here’s a common method for achieving this. It can also be applied to sinks, piping, and many other fixed obstacles too!
You will need:
A large sheet of paper
A utility knife
A pencil
Some tape
Method:
1. Lay your planks as normal, and stop once you can’t fit another row between the current row and the toilet.
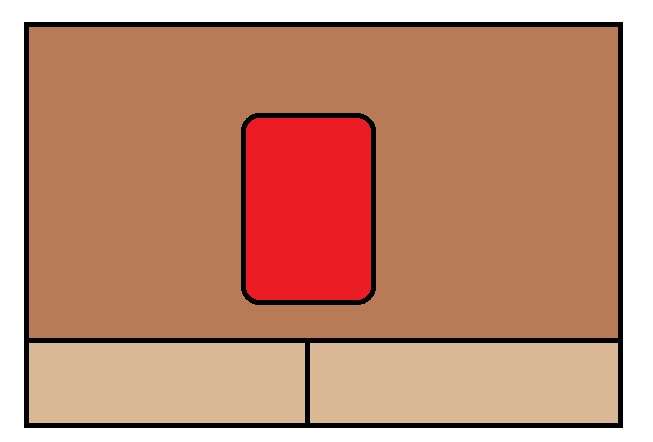
2. Lay your sheet of paper beside the toilet, overlapping the last row of planks you laid.
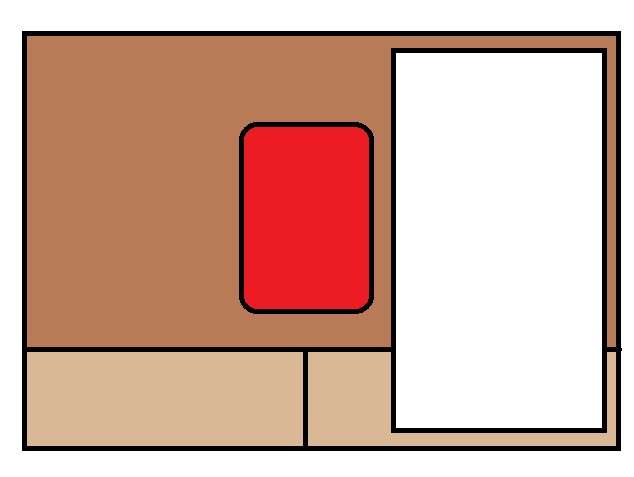
3. Then, cutting into the paper from the back, cut a hole that is slightly smaller than the toilet.
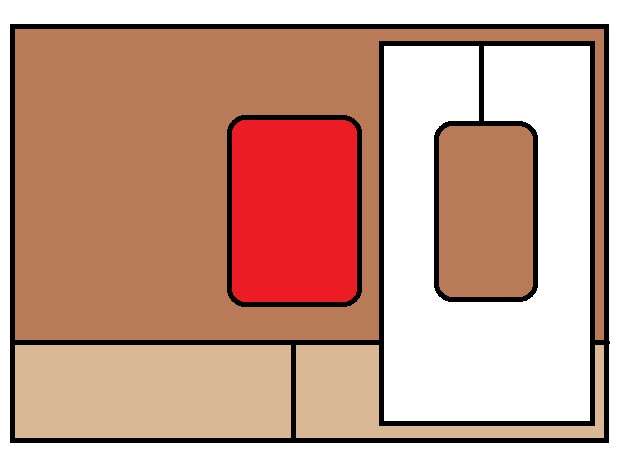
4. Wrap your paper around the toilet. Shuffle it down to the ground. Any over-hang will fold upwards.
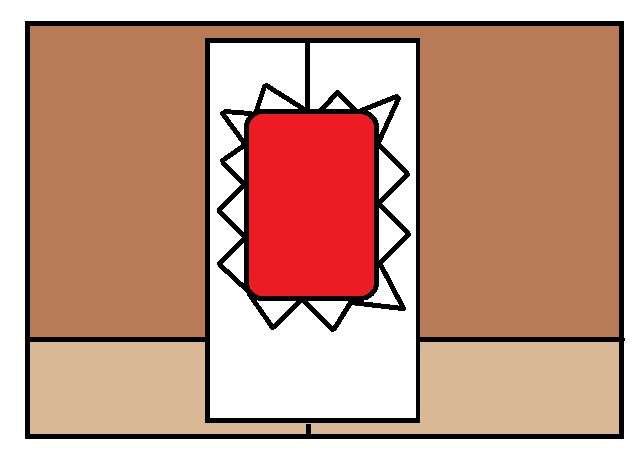
5. Cut this overhang away with a knife. Carry on until you’re left with a hole in the paper that fits snugly around the toilet’s base. Make sure to mark on the paper where your last row of planks sits (shown by the red line in the diagram).
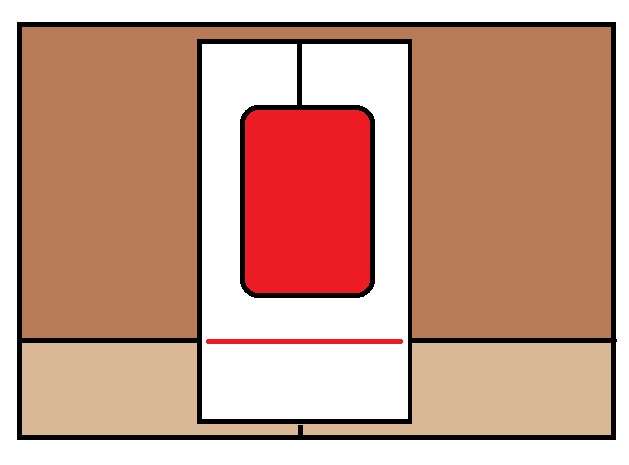
6. On some open floor space, click a few planks together – enough to cover the depth of the toilet. Make sure you continue the laying pattern you have used already.
7. Tape the paper guide on top of them – ensuring you line up the mark where your last row stopped.
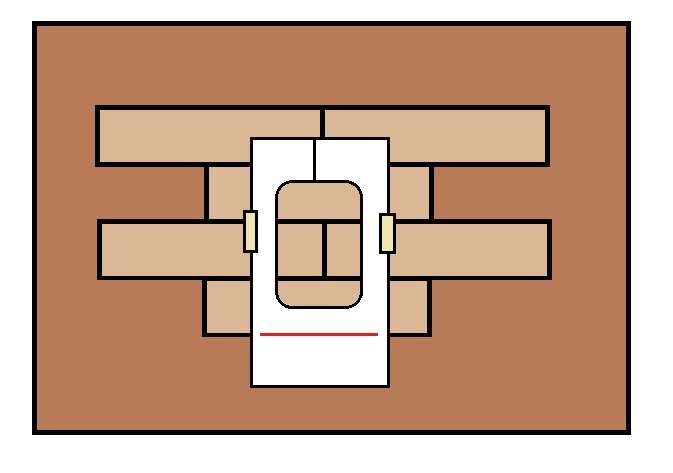
8. Use the paper as a stencil to mark the shape of the toilet onto the planks you’ve fixed together.
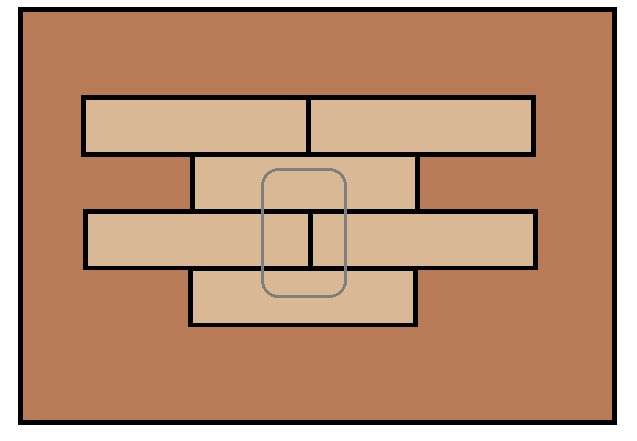
9. Take the pieces apart, and cut along the lines you’ve marked. Using the regular snapping process to remove the pieces.
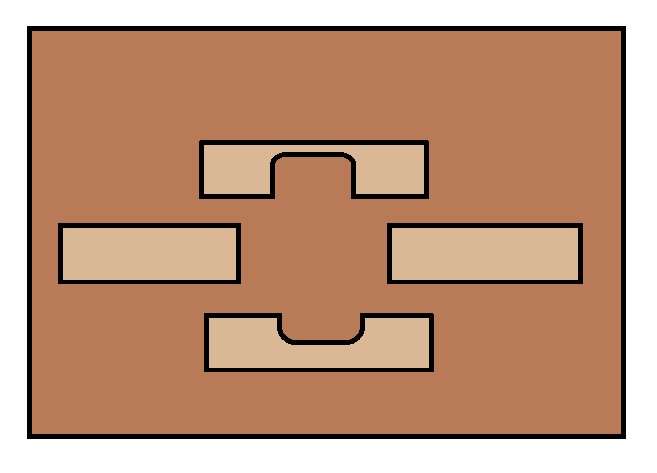
10. Slot your newly cut pieces around the toilet.
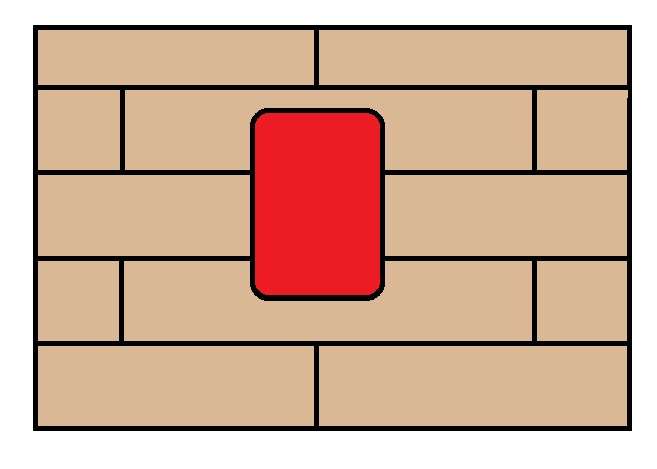
11. Finish up by sealing around the toilet’s base with a beading of silicone.
There you have it! A guide for tiling around a toilet (and most other obstacles you might encounter when installing your vinyl flooring).
To browse our collection of vinyl floor, click here: Luxury Vinyl Tiles.


