How To Tile A Shower: Waterproofing and Tiling Guide

Waterproofing can be a less daunting task than it sounds by using a product such as BAL waterproofing kit for showers. This simple to use kit contains everything you will need to fully waterproof the area, and in this guide, we’re going to show you how to use it!
Why do I need to waterproof my shower area?
When tiling any wet area – for example your shower or around your bath area, you must make remember that grouts and adhesives are only water resistant – they are not waterproof. Water can creep through the tile joints and cause damage to the walls behind the tiles. This is why it’s important to waterproof the background that you’re going to be tiling onto.
So, let’s look at using the BAL waterproofing kit!
Preparing for the job
Before getting started, it’s always a good idea to put on gloves and goggles to protect your eyes and hands, since the materials we’ll be handling can be irritant.
Next, you’ll want to protect your surfaces, fixtures and fittings from the waterproofing mixture. Pop a protective sheet down in the shower tray or bath tub to protect it from any stray specks. Also mask up any fittings or fixtures on the walls you’ll be waterproofing, to stop these getting messy.
Applying the primer
Once you’re happy that the background has been fully prepared, you can begin the waterproofing.
Firstly, pour some of the undiluted primer into a paint tray. Then, either using a small roller or paint brush, simply paint the primer onto the walls. This will help to remove surface dust and will also aid adhesion.
Top tip: Start from the top of the wall and work down – just in case the primer slightly runs down the wall’s surface.
When priming, you should prime the width of the shower tray / shower area, and to the height of the ceiling. This should be done on all walls that are in contact with the shower. The primer is blue so that when applied to the walls, you can check that you’ve covered all areas.
When the primer dries, the colour will fade. This will take approximately 15 minutes, depending on the room temperature.
Apply the WP1 coating
Once the primer is dry, it’s time to apply the WP1 coating to the same areas.
Start by applying the coating first, fairly liberally, to all the corners where the walls meet the shower tray or bath. Once this is done, cut the roll of tape to the required size and place this into any corners and where the wall meets the tray. Push the tape to the wall; pushing out any air, and then add another coating on top of the tape to secure it in place.
Now, once the corners are done, paint the WP1 coating over the remaining primed area.
Add another coat
When the coat is dry, apply a second coat. It’s a good idea to work in an opposite direction to which the first coat was applied – this will help to ensure that there aren’t any gaps.
Once the second coat is dry, this will be fully waterproof and ready to tile onto. However, BAL recommend waiting an extra 24 hours before you start to tile.
Tile the walls
Once the area has been completely waterproofed, you can tile the wall like any other!
For a handy step by step tutorial, head over to our guide: How To Tile A Wall
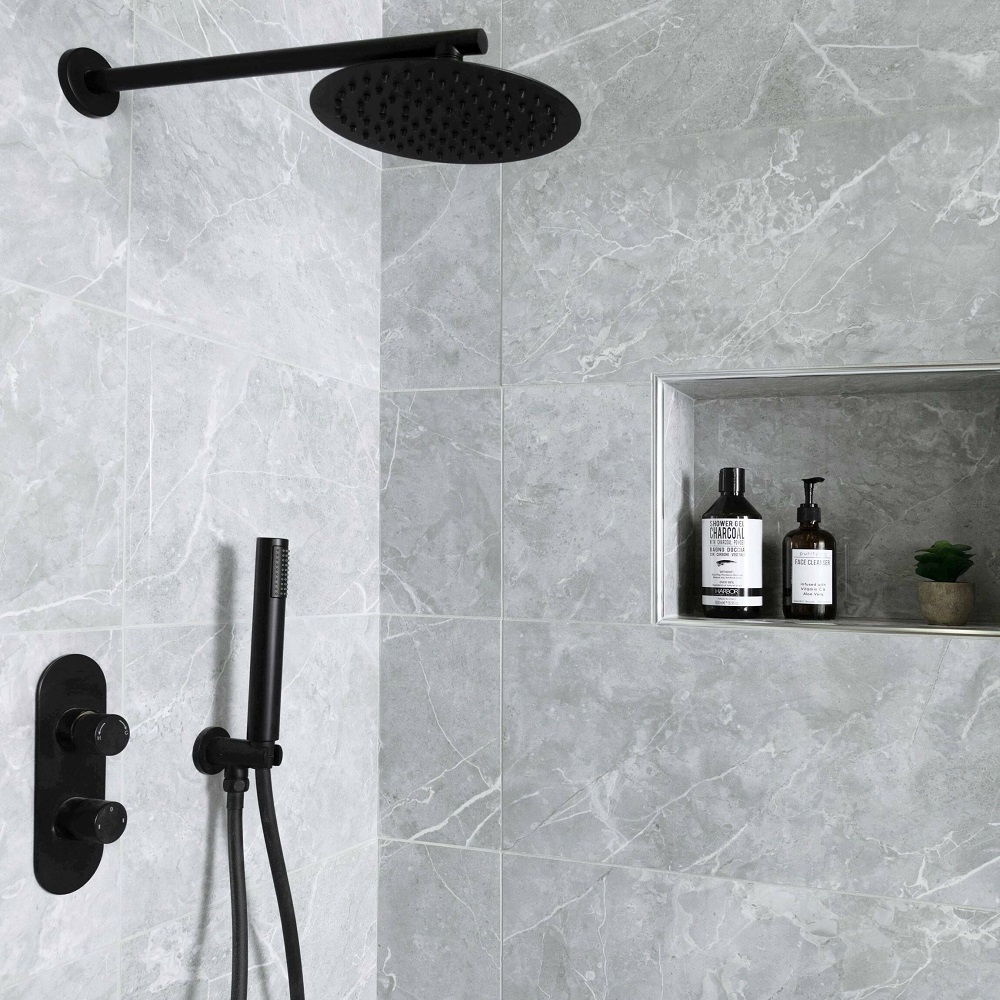
There you have our guide on how to tile a shower using a waterproofing kit, so get your DIY on and give it a go! Tag us in pictures of the results over on Instagram, @Wallsandfloors, we love seeing what you’ve been up to!


