
Tiling over tile is the process of fixing new ceramic or porcelain tiles directly onto an existing tiled surface without removing the original tiles, provided the existing surface is structurally sound, level, and free from moisture-related defects.
Tiling over tile is considered during renovation projects where tile removal increases labour time, dust, waste, and disruption. Homeowners explore tiling over tile to shorten project timelines, reduce demolition mess, and avoid substrate repair work. Tiling over tile remains a conditional installation method rather than a universal solution.
Table of Contents
Is It Possible to Tile Over the Existing Tile?
Tiling over existing tile is possible when the original tiles are firmly bonded, structurally stable, flat, and dry, but tiling over tile fails when adhesion, moisture integrity, or surface level requirements are not met.
Tiling over tile depends on substrate performance rather than tile appearance. Existing tiles must behave as a stable base equivalent to a prepared concrete or cement board surface. Hollow-sounding tiles, movement under load, or moisture migration beneath tiles invalidate tile-over-tile installation regardless of visual condition.
Pros and Cons of Tiling Over Tile
Tiling over tile offers time and cost efficiencies but introduces technical risks related to height build-up, adhesion reliability, and concealed substrate defects.
Advantages of Tiling Over Tile
The advantages of tiling over tile are listed below:
- Reduce demolition time: Eliminates tile removal, waste handling, and substrate exposure.
- Limit installation mess: Avoids dust, debris, and structural disturbance.
- Lower labour cost: Reduces labour hours associated with stripping and disposal.
Disadvantages of Tiling Over Tile
The disadvantages of tiling over tile are listed below:
- Increase finished surface height: Additional layers affect thresholds, door swing, and fixtures.
- Raise adhesion dependency: Installation success relies heavily on preparation quality.
- Hide underlying defects: Moisture damage or debonding remains concealed.
When Tiling Over Tile Is a Good Idea
Tiling over tile is a suitable option when existing tiles remain fully bonded, level within tolerance, dry, and structurally sound, and when added height does not interfere with fixtures or access points.
Tiling over tile works best in controlled environments where tile performance history is known. Bathrooms and kitchens with intact waterproofing systems often support tile-over-tile installation when tiles show no movement. Floors tolerate tile-over-tile installation more reliably than walls due to load distribution and gravity assistance during curing.
When You Should Not Tile Over Tile
Tiling over tile should not be performed when existing tiles are loose, cracked, moisture-affected, uneven, or when structural and clearance limitations exist.
Situations where tiling over tile fails include:
- Loose or hollow tiles: Existing tiles that sound hollow or move under pressure indicate adhesive failure beneath the surface; movement transfers mechanical stress into the new adhesive layer, causing debonding, cracked grout joints, and premature tile failure across the tiled area.
- Cracked tiles: Cracked tiles signal substrate movement or point-load stress; cracks act as structural fault lines that propagate upward through adhesive beds and into newly installed tiles, leading to mirrored cracking patterns in the finished surface.
- Moisture or mould presence: Moisture trapped beneath existing tiles prevents proper adhesive curing and promotes microbial growth; continued moisture migration weakens bond strength, increases freeze–thaw stress in colder environments, and accelerates tile and grout deterioration.
- Uneven surfaces: Height variation across existing tiles exceeds acceptable flatness tolerances; surface irregularities telegraph through new tiles, causing lippage, uneven grout lines, and increased stress concentration at tile edges.
- Restricted clearances: Additional tile thickness raises finished surface height beyond allowable limits; reduced clearance interferes with doors, appliances, sanitary fixtures, and transitions, creating functional obstruction and non-compliant installation outcomes.
Types of Surfaces You Can Tile Over
The suitability of tiling over tile depends on the original tile material, surface porosity, bonding strength, and dimensional behaviour under load and moisture exposure.
Different tile materials respond differently to tile-over-tile installation due to structural and surface characteristics.
The tile surfaces suitable for tiling over tile are defined below:
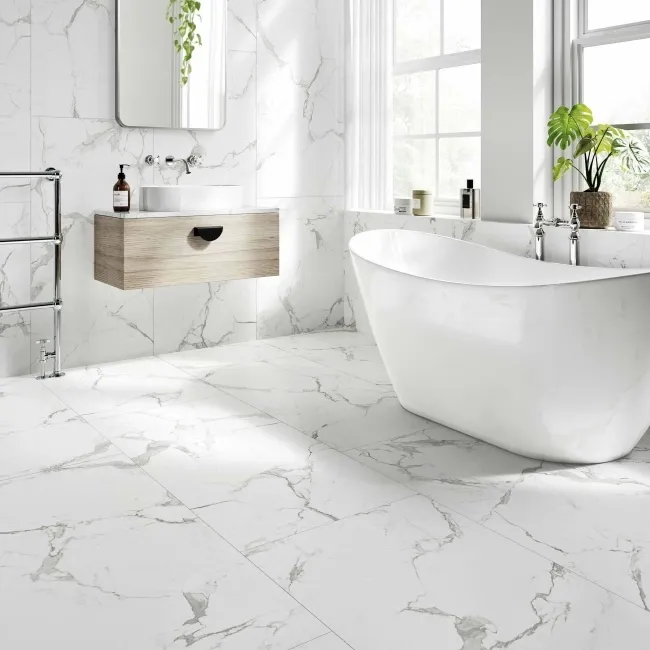
Ceramic tile:
Ceramic tile supports tile-over-tile installation when existing tiles remain securely bonded, level, and free from surface contaminants. Ceramic tiles typically feature a glazed surface with moderate porosity beneath the glaze. When ceramic tiles are firmly fixed to the substrate, ceramic tile surfaces provide a stable base for tile-over-tile installation following correct preparation. Surface preparation focuses on removing surface sealers, abrading glaze layers to create mechanical key, and applying a suitable bonding primer. Ceramic tiles installed on rigid substrates such as concrete or cement board perform reliably under tile-over-tile conditions.
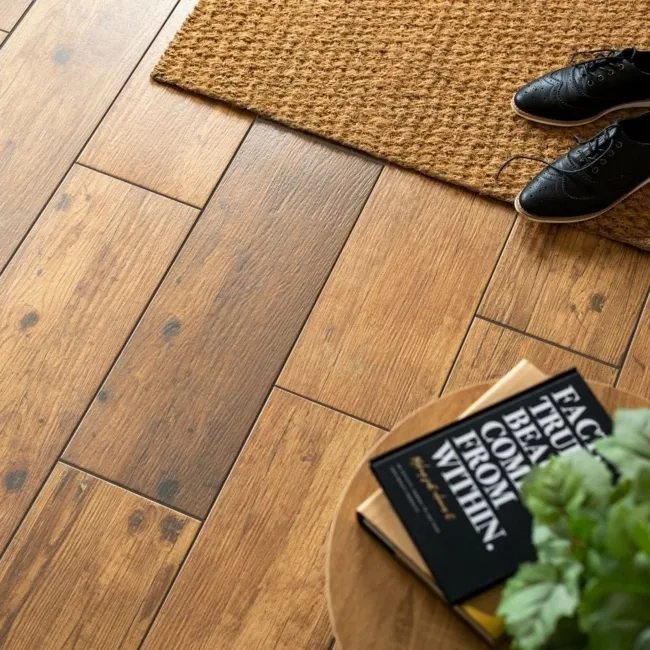
Porcelain tile:
Porcelain tile supports tile-over-tile installation only when aggressive surface preparation compensates for very low porosity and high surface density.
Porcelain tiles are manufactured with high compaction and low water absorption, typically below 0.5 percent. Low porosity reduces adhesive penetration and increases reliance on surface key and chemical bonding. Successful tile-over-tile installation over porcelain requires mechanical abrasion, specialist tile-to-tile primers, and high-bond flexible adhesives. Insufficient preparation over porcelain tiles leads to adhesive shear failure and debonding.

Natural stone tile:
Natural stone tile presents limitations for tile-over-tile installation due to sealing treatments, variable density, and sensitivity to movement and moisture.
Natural stone tiles such as marble, limestone, slate, and travertine often receive surface sealers that inhibit adhesive bonding. Stone tiles also vary in thickness, density, and moisture movement behaviour. Differential expansion between stone and new tile layers increases stress within adhesive beds. Tile-over-tile installation over natural stone increases risk unless sealers are fully removed, surface flatness remains within tolerance, and movement risk is mitigated through isolation systems.
How to Prepare Tile for Tiling Over
Preparing tile for tiling over requires thorough cleaning, surface abrasion, and the application of appropriate bonding agents to convert a non-porous tiled surface into a stable, adhesive-ready substrate. Preparation quality directly determines long-term adhesion strength and surface durability.
Cleaning and Degreasing the Existing Tiles
Existing tiles must be completely free from grease, soap residue, sealers, and surface contaminants before tiling over tile.
Contaminants act as bond breakers between adhesive and tile glaze. Kitchen tiles often retain grease films, while bathroom tiles accumulate soap residue and limescale. Cleaning requires the use of alkaline degreasers or specialist tile cleaners rather than general household detergents. Rinsing removes chemical residues that interfere with adhesive curing. Drying ensures moisture does not become trapped beneath the new adhesive layer.
Roughening or Sanding the Tile Surface
Tile surface abrasion creates mechanical key by breaking the smooth glazed finish of existing tiles.
Glazed ceramic and porcelain tiles present low surface friction that prevents adhesive grip. Mechanical abrasion using diamond sanding pads, coarse grit sandpaper, or mechanical grinders increases surface roughness. Abrasion focuses on dulling the glaze rather than removing tile material. Uniform surface roughness improves adhesive shear strength and reduces the risk of debonding under load.
Using Primers or Bonding Agents
Bonding primers chemically enhance adhesive adhesion on low-porosity tile surfaces.
Tile-to-tile primers are designed to bond to glazed, dense, or sealed surfaces where mechanical key alone remains insufficient. Primers create a textured, adhesive-compatible layer that bridges between existing tiles and new adhesive beds. Primer application requires even coverage and full curing before adhesive application. Skipping primers on porcelain or sealed tiles significantly increases failure risk.
Final Surface Inspection Before Tiling
Prepared tile surfaces must be clean, dry, roughened, and primed before adhesive application begins.
Inspection confirms the absence of dust from abrasion, pooling primer residue, or remaining contaminants. Surface flatness is rechecked to ensure preparation steps have not introduced unevenness. Only after surface readiness confirmation should adhesive mixing and tile laying commence.
Preparation quality directly influences adhesive bond strength and long-term surface stability.
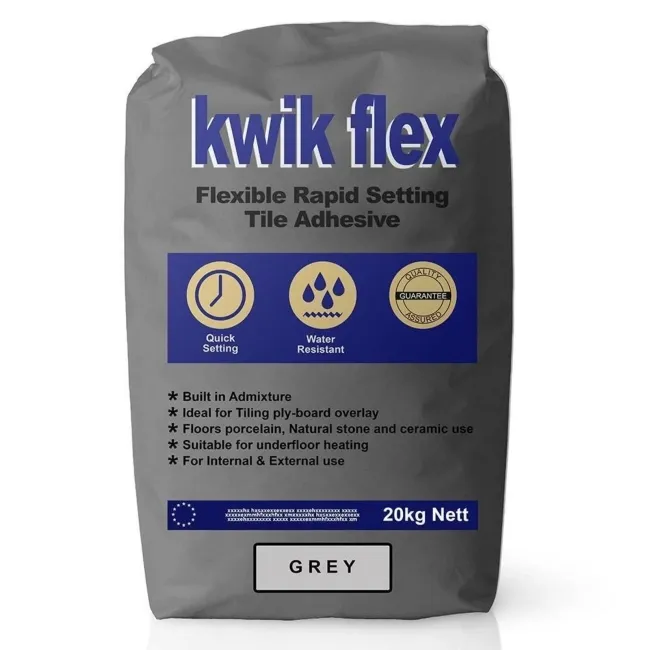
What Adhesives and Materials Work Best
Tiling over tile requires flexible, high-bond adhesives designed for low-porosity surfaces.
The materials suitable for tile-over-tile installation include:
- Flexible thin-set mortar: Accommodates minor movement and thermal variation.
- Tile-on-tile adhesive: Formulated for glazed ceramic and porcelain surfaces.
- Levelling systems: Maintain surface flatness and consistent joint width.
Standard adhesives intended for porous substrates are unsuitable for tile-over-tile applications.
Step-by-Step: How to Tile Over Tile
Tiling over tile follows a structured installation process that includes surface inspection, mechanical and chemical preparation, controlled adhesive application, precise tile placement, and disciplined grouting to ensure long-term bond strength and surface stability.
Each step in the process directly affects durability and finish quality.
Step 1: Inspect the Existing Tiled Surface
Tile-over-tile installation begins with a full inspection of the existing tiled surface to confirm structural suitability.
Inspection verifies that existing tiles remain firmly bonded, level, and free from cracks or hollow sounds. Tapping tiles identifies voids beneath the surface. Visual checks confirm grout integrity, absence of moisture staining, and uniform surface height. Any movement, cracking, or debonding disqualifies the surface from tile-over-tile installation.
Step 2: Prepare the Tile Surface
Surface preparation converts an existing tiled surface into an adhesive-ready substrate.
Preparation includes deep cleaning to remove grease, soap residue, sealers, and contaminants. Mechanical abrasion roughens glazed surfaces to create mechanical key. Bonding primers are applied to improve adhesion on dense or low-porosity tiles. Prepared surfaces must remain clean, dry, roughened, and fully cured before adhesive application.
Step 3: Plan Tile Layout and Set Levels
Tile layout planning controls visual alignment, edge finishing, and finished height accuracy.
Dry laying tiles establishes joint alignment, cut positioning, and pattern consistency. Reference lines are marked to maintain straight courses. Finished height is checked against doors, thresholds, and fixtures to prevent clearance conflicts. Levelling systems are selected where tile size or surface tolerance requires control of lippage.
Step 4: Apply Adhesive Correctly
Adhesive application determines bond strength and load distribution across the tiled surface.
Flexible tile-on-tile adhesive or flexible thin-set mortar is applied using the correct notched trowel size to achieve full coverage. Adhesive is combed consistently to avoid air pockets. Back-buttering large-format tiles improves contact and reduces void formation. Open time limits are observed to prevent skinning.
Step 5: Lay the New Tiles
Tile placement requires controlled pressure, consistent spacing, and continuous level checking.
Tiles are pressed firmly into adhesive beds using slight twisting motion to collapse adhesive ridges. Tile spacers maintain joint consistency. Levelling clips control surface flatness. Regular checks confirm alignment, level, and bond transfer. Excess adhesive is removed from joints before curing.
Step 6: Allow Adhesive to Cure
Adhesive curing stabilises tile positioning and prepares the surface for grouting.
Curing time varies by adhesive type and environmental conditions. Movement, loading, or grouting before full cure compromises bond strength. Controlled indoor temperature and ventilation support uniform curing across the tiled area.
Step 7: Grout and Finish the Surface
Grouting completes the tile-over-tile installation by sealing joints and stabilising tile edges.
Grout is applied diagonally across joints to ensure full joint fill. Excess grout is removed before haze formation. Movement joints are sealed using appropriate flexible sealant. Final cleaning reveals the finished surface without disturbing tile alignment.
Common Mistakes to Avoid
Most tile-over-tile failures result from preparation shortcuts or incorrect material choices.
The most common mistakes include:
- Skipping surface abrasion: Smooth glaze prevents adhesion.
- Using standard adhesive: Incorrect products fail on non-porous tiles.
- Ignoring height build-up: Finished height interferes with access and fixtures.
Cost Considerations
Tiling over tile typically costs less than removing tiles and re-preparing the substrate.
Cost-related considerations include:
- Reduced labour time: No demolition or waste disposal.
- Additional material cost: Primers and specialist adhesives required.
- Overall efficiency: Savings achieved when preparation conditions are suitable.
Professional vs. DIY: What’s Better?
Tiling over tile suits DIY installation only under limited, low-risk conditions.
Installation responsibility considerations include:
- DIY suitability: Small areas with stable tiles and minimal height constraints.
- Professional installation: Wet areas, large floors, uneven substrates, or unknown tile history.
Final Verdict: Should You Tile Over Tile?
Tiling over tile is a viable renovation method when existing tiles are stable, level, dry, and height allowances exist, but tiling over tile fails when structural, moisture, or preparation requirements are ignored.
The decision to tile over tile depends on surface integrity and environmental conditions rather than convenience or appearance.


