
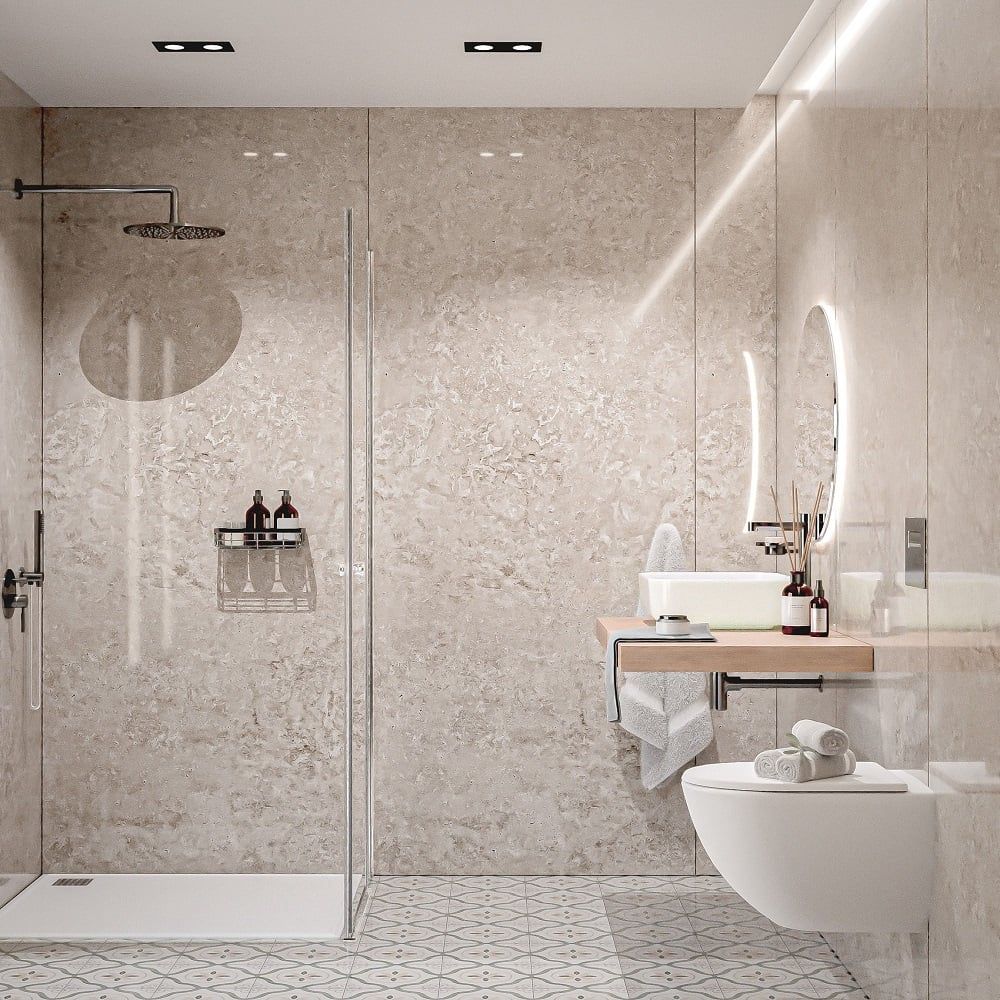
Bathroom wall panels provide a waterproof, grout-free alternative to traditional wall tiles and create a clean, modern finish. This step-by-step installation guide explains how to prepare the walls, apply waterproof protection, fit the panels and seal every joint for a professional result.
Before gathering your tools, prepare the room and check that the wall surfaces are suitable for installation. Completing a few simple checks before fitting the panels helps create a smoother installation process and reduces the risk of problems later in the project.
Table of Contents
Which Wall Surfaces Are Suitable?
Bathroom wall panels can be installed on a range of sound, clean and level surfaces, making them suitable for both renovation projects and new bathroom installations. Preparing a stable substrate helps improve adhesive performance and creates a smooth, long-lasting finish.
Suitable wall surfaces include:
- Moisture-resistant plasterboard
- Standard plasterboard in dry areas
- Cement backer boards
- Existing ceramic or porcelain wall tiles that are firmly bonded
- Painted walls with a stable, well-adhered finish
- Marine plywood
- Timber battens where recommended for the installation method
Avoid installing panels directly onto:
- Damp or water-damaged walls
- Loose or crumbling plaster
- Peeling paint or wallpaper
- Uneven surfaces that prevent full adhesive contact
- Wall surfaces affected by mould until the underlying cause has been resolved
When installing over existing wall tiles, check that every tile is securely fixed and thoroughly clean the surface before applying adhesive. Repair any loose tiles, damaged plaster or unstable finishes before installation to help achieve a secure bond and a professional result.
How To Measure For Bathroom Wall Panels
Accurate measurements help reduce material waste, minimise unnecessary cuts and achieve a neater installation. Measure every wall individually, even when opposite walls appear identical, as bathroom dimensions often vary.
Before ordering or cutting the panels:
- Measure the width and height of each wall.
- Measure from the top of the shower tray, bath or floor to the finished ceiling height.
- Record the position and dimensions of windows, doors, alcoves and wall niches.
- Mark the location of pipework, electrical fittings and other fixed fixtures that require cut-outs.
- Check internal and external corners for variations that could affect panel widths.
- Compare the wall measurements with the panel dimensions to plan the most efficient layout and reduce narrow offcuts.
Allow a small amount of additional material to accommodate cutting waste and any future repairs. Careful planning before installation helps achieve consistent panel alignment and a professional finished appearance.
You Will Need:
- Fine tooth saw and/or utility knife
- Silicone sealant
- Gloves and eye-protection
- Straight edge
- Mapei Super Grip Panel Adhesive
- Tape measure
- Tanking system/ Waterproof membrane
- Joints/end caps
- Trepanel Aqua® PVC wall panels
1 – Prepare Your Wall
Before beginning any installation process, ensure your surface is appropriate. For best results, you may also need to fill in any cracks or imperfections in the wall.
Ensure Stability – The background should not flex or move. Any movement can cause the panels to detach or cause leaks.
If your surface is uneven, install an appropriate timber batten frame beforehand.
Surface Smoothness – The surface should be level and smooth to ensure good adhesion and a neat finish.
Cleanliness – Remove any dust, dirt, grease, or other contaminants that might prevent proper adhesion of the panels.
Ensure the background is completely dry before installing the PVC panels to avoid trapping moisture, which can lead to mould or other issues.

Here’s some advice on fixing to various types of background:
Plasterboard (Water-resistant) – Use moisture-resistant or water-resistant plasterboard (often green in colour). – Ensure the plasterboard is securely fixed to the wall studs. – Joints and screw heads should be sealed and made smooth.
Cement Backer Board – Cement backer board is highly recommended for wet areas as it is moisture-resistant. – Ensure it is properly secured and joints are taped and sealed with a waterproofing membrane.
Concrete or Masonry – The surface should be clean, dry, and free from dust, oil, or other contaminants. – Repair any cracks or holes with appropriate filler and ensure the surface is even.
Existing Tiling – If installing over existing tiles, ensure they are securely fixed, clean, and degreased. – Any loose or damaged tiles should be repaired or removed, and the gaps filled.
Plywood (Marine Grade) – Marine-grade plywood can be used due to its resistance to moisture. – It should be securely fixed and sealed to prevent water ingress.
Waterproof Membrane – Regardless of the substrate, applying a waterproofing membrane or tanking system is highly recommended, especially in wet areas. – This adds an extra layer of protection against water ingress.
2 – Tanking Your Wall
Even if the background is considered suitable, applying a waterproofing layer is highly recommended to provide extra protection and longevity to your installation. By ensuring the background meets these criteria, you can achieve a durable and effective installation of PVC wall panels in your shower area.
You can either use a tanking system or a waterproof membrane that is specifically designed to be used in wet areas.
Some common choices for this include liquid-applied membranes, sheet membranes or waterproof boards.
We recommend the use of the Mapei Shower Waterproofing Kit. (Here’s a helpful guide on how to use our Shower Waterproofing Kit).

3 – Apply the Membrane
Following the manufacturer’s guide, apply your tanking system kit to the surface. This is typically done with a brush, roller or trowel. Focus on corners, joints, seams and any other tricky-to-reach areas.
To avoid leaks, seal around pipes, pictures and any other penetrations in the surface using a compatible waterproof silicone sealant.
If you’re using a sheet membrane to waterproof the space, ensure you overlap the joints to create a continuous barrier.
As per the recommended time from the manufacturer’s guide, allow your remembrance to dry completely.
Conduct a water test to ensure there are no leaks before you get started on applying your Trepanel Aqua® Panels.
4 – Installation of Panels and Profiles
Trepanel Aqua® PVC Panels can be adhered directly onto a flat, plumb, sound and smooth wall.
If you are starting your application on an exposed edge, ensure you install an end cap beforehand. This can be done by screwing the piece onto the wall/batten or adhering using a waterproof adhesive, we recommend the Mapelastic Super Grip Panel Adhesive.

You will then need to apply a full-length unbroken bead of silicone sealant into the channel of the starting point.
When you come to apply your first wall panel, on the reverse, apply a thick bead of adhesive around the edge of the panel (approx 50mm in from the edge), followed by further horizontal lines of adhesive spaced approximately 450mm apart.

Angle the shower panel into the end cap you previously installed and firmly press the rest of the panel into the wall, ensuring all of the adhesive is making contact with the wall. If you are using a wooden batten system, apply the adhesive to the battens rather than the panel.

Repeat the adhesive lines on your next panel/battens, adding a small bead of silicone along the upper section of the tongue on the next panel.
Insert the tongue of the panel into the groove of the previous one.
Wipe off any excess silicone immediately.

In some cases, it may be necessary to cut off the panel’s tongue or groove before fitting the panel into any profile piece. Follow step 6 to do this. If this is the case, use a H joint to attach the two edges.
When you get to a corner, use either the internal or external corner joint to seamlessly join the two edges.

Apply a full silicone bead into the trim recess prior to fixing the panel in place.
5 – Silicone Your Edges
Ensure all wall panel joints, bottom edges, sides and edges around sinks, baths, shower trays, shower units and any pipes or cut-outs are fully sealed using PVC silicone sealant. Your warranty may be void If problems occur due to incorrect or inappropriate sealing of joints.

6 – Cutting & Handling your Panels
Trepanel Aqua® Shower Panels should be carefully cut using a fine tooth saw, with the decorative side facing up. Wear gloves and eye protection when doing this to minimise the risk of injury. Measure the piece you need to cut, rest it on a stable, flat surface and saw the disregarded piece off.
How do I clean and maintain bathroom panels?
Allow the adhesive and silicone sealant to cure fully before cleaning the bathroom wall panels or exposing the installation to water. Follow the curing times recommended by the adhesive and sealant manufacturers to help achieve a durable waterproof seal.
Once the installation has cured:
- Remove any remaining protective film from the panel surface.
- Wipe the panels with a soft microfibre cloth and warm water to remove dust, fingerprints and adhesive residue.
- Use a pH-neutral bathroom cleaner for routine maintenance.
- Dry the panel surfaces after cleaning to help maintain the finish.
- Inspect all joints, trims and silicone seals to confirm every edge has been fully sealed.
Avoid using abrasive cleaning pads, scouring powders, solvent-based cleaners or harsh chemicals, as these products may damage the decorative surface or affect the silicone seal.
Regular cleaning and routine inspection of the seals help maintain the appearance of the panels and preserve a watertight installation for years to come.
What are the most common bathroom panel installation mistakes?
Careful preparation and correct installation techniques help create a durable, watertight finish. Avoiding the following mistakes reduces the risk of poor adhesion, water ingress and unnecessary repairs.
- Installing onto damp or unstable walls – Panels should only be fitted to clean, dry and structurally sound surfaces. Moisture, loose plaster and damaged wall finishes can reduce adhesive performance.
- Skipping the waterproofing stage – A waterproof membrane or tanking system provides additional protection in shower enclosures and other wet areas.
- Using the wrong adhesive or sealant – Always use products recommended for PVC bathroom wall panels to achieve a secure bond and a long-lasting waterproof seal.
- Applying insufficient adhesive – Continuous, evenly spaced beads of adhesive help support the full panel surface and improve adhesion.
- Failing to seal joints and trims correctly – Apply sanitary silicone to all joints, corners, profiles and cut-outs to help prevent water from reaching the substrate.
- Taking inaccurate measurements – Measure every wall, opening and cut-out before cutting the panels to minimise waste and achieve accurate alignment.
- Ignoring uneven wall surfaces – Repair uneven areas or install suitable battens where required to create a flat installation surface.
- Using the shower before the adhesive has cured – Allow the adhesive and silicone sealant to cure fully in accordance with the manufacturer’s instructions before exposing the installation to water.
Following the recommended installation process from preparation through to sealing helps achieve a professional finish and maximise the long-term performance of the bathroom wall panels.
There you have our step-by-step guide on how to install shower panels! We’d love to see images of your Trepanel Aqua® waterproof panels in your bathroom over on Instagram, @Wallsandfloors. Your content may be used on the website!
