
An uneven floor is one of the most common reasons a tiling job goes wrong before it’s even started. Tiles laid over dips and humps telegraph every imperfection through the finished surface, and in the worst cases the tiles themselves can crack under uneven support. Self-levelling compound is the standard fix, a pourable, fast-curing screed that flows out to create a flat base, but getting it right depends on preparing the floor properly first and understanding what the compound can and can’t do.
Table of Contents
What self-levelling compound actually does
Self-levelling compound is a cement-based, polymer-modified screed mixed to a pourable consistency, poured across the floor, and left to find its own level before curing into a smooth, flat surface. It’s designed to correct minor to moderate unevenness in a subfloor rather than to build up serious structural dips, and it gives tiling, or any other floor covering, a consistent base to sit on rather than one with lumps and low spots underneath.
It isn’t a universal fix for every subfloor problem. It corrects level and smooths minor surface irregularities, but it doesn’t add structural strength to a weak or moving subfloor, and it isn’t a substitute for fixing loose boards, a bouncy joist, or a cracked screed underneath it.
Do you actually need it?

Not every floor does. A quick way to check is to lay a long, straight edge, a spirit level or a length of timber, across the floor in a few directions and look for gaps underneath it. A small, even variation across a floor that’s otherwise sound often doesn’t need levelling compound at all, particularly under a flexible tile adhesive bed that can absorb a small amount of unevenness on its own. Where you see a visible dip, a gap of several millimetres or more under the straight edge, or a floor that clearly slopes toward one point, that’s the situation self-levelling compound is meant to correct.
Checking the depth you’re dealing with
How deep the low points are affects which product you need and how it should be applied. Most standard self-levelling compounds are formulated for a working depth of a few millimetres up to around 10mm in a single pour, while a deeper-fill or fibre-reinforced formulation is generally needed for deeper areas, sometimes up to 50mm or more depending on the specific product. Pouring a standard compound too thick in one go, beyond what the manufacturer states, risks it cracking or failing to cure evenly, so always check the specific product’s stated depth range rather than assuming one compound suits every job. If you’re dealing with a genuinely deep or uneven area, particularly anything beyond around 10 to 15mm, it’s worth checking the manufacturer’s guidance on whether a build-up in stages or a different product is needed, or asking a qualified fitter.
What you’ll need
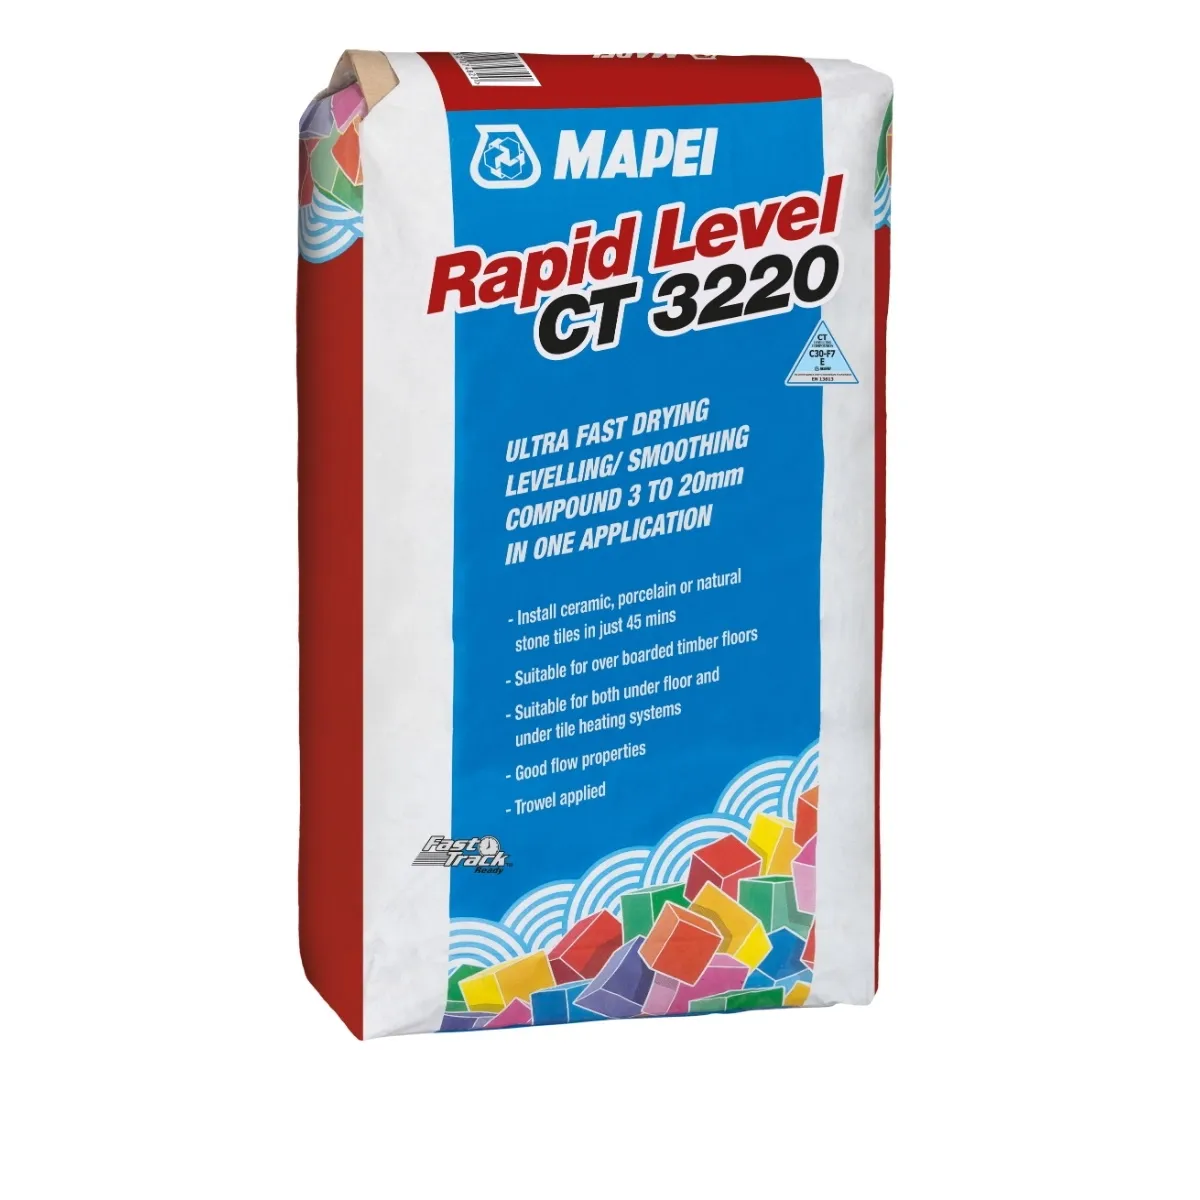
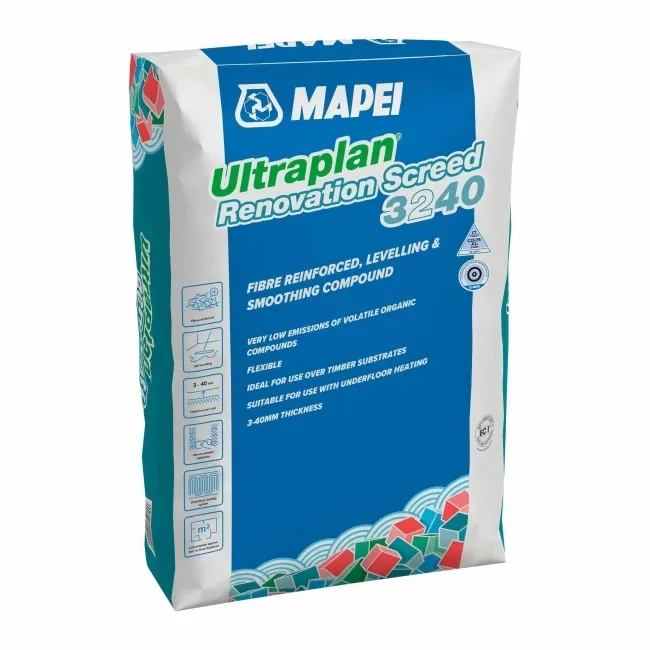
A primer suited to your subfloor (concrete, sand and cement screed, and timber generally each need a different type, so check the compound manufacturer’s recommendation), a mixing bucket and a paddle mixer attachment for a drill, a notched or flat trowel, a spiked roller for de-aerating the mix once it’s poured, and the self-levelling compound itself. A product such as Walls & Floors’ Mapei Rapid Level CT3220 or Ultraplan Renovation Screed is a standard choice for most residential subfloors ahead of tiling, while Ultra Tile Fix ProLevel Fibre suits areas needing a bit more reinforcement across a slightly deeper pour.
How to prepare the subfloor first
Preparation is what decides whether the levelling compound bonds properly and cures evenly.
- Clear the floor completely. Remove any existing flooring, old adhesive residue, and debris down to a sound subfloor.
- Fix any structural issues first. Loose boards, a soft or crumbling screed, or a bouncy joist need addressing before you pour anything on top, since levelling compound won’t fix a moving subfloor underneath it.
- Clean thoroughly. Vacuum or sweep out all dust, since a dusty surface stops the primer and compound bonding properly.
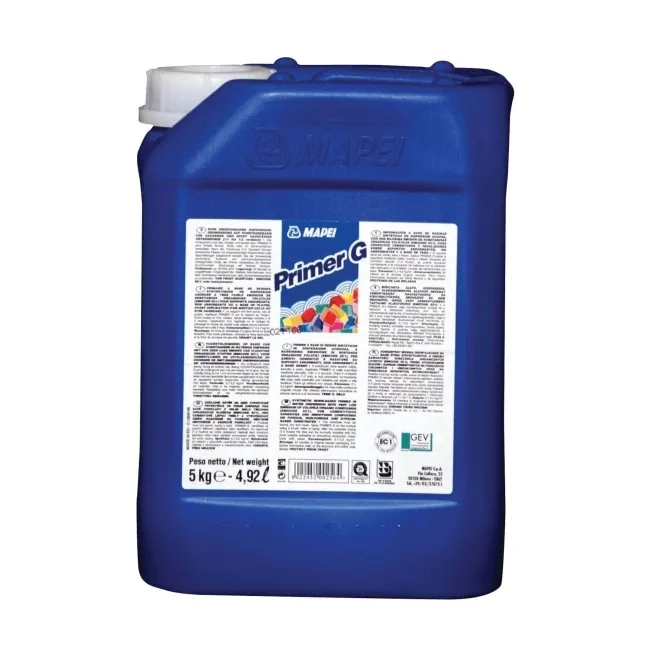
- Prime the floor. Apply a primer matched to your subfloor type and let it dry fully according to the product’s instructions before mixing the compound. Skipping this step, or using the wrong primer for a porous or timber subfloor, is one of the more common reasons a pour fails to bond.
How to mix and pour self-levelling compound
- Measure the water first. Most compounds specify an exact water-to-powder ratio on the bag, and getting this wrong in either direction affects how well the mix flows and cures, so measure rather than guess.
- Add the powder to the water, not the other way round, mixing continuously with a paddle mixer to a lump-free, pourable consistency, generally for the time stated on the product’s own instructions.
- Pour in manageable sections, particularly on a larger floor, working from the corner furthest from the door back toward your exit, since most compounds start setting quickly and don’t allow much working time.
- Spread with a trowel where needed, though a good compound largely finds its own level once poured. Use the trowel mainly to guide it into corners and edges.
- Use a spiked roller across the wet surface to release any trapped air bubbles, which otherwise can leave small pinholes in the cured surface.
- Leave it completely undisturbed while it cures. Walking on a partially cured pour, or letting draughts and direct heat hit it unevenly, can affect how flat and consistent the finished surface ends up.
How long before you can tile on it
Cure times vary meaningfully between products and depend on the depth poured and the conditions in the room, so always check the specific product’s stated times rather than a general rule of thumb. Many standard compounds are walkable within a matter of hours but need longer, often 24 hours or more, before they’re ready to take tile adhesive, and a deeper pour generally needs longer again. Rushing this step is one of the more common causes of problems later, since tiling onto a compound that hasn’t fully cured can trap residual moisture under the tile bed.
Common mistakes to avoid
- Skipping or using the wrong primer. This is one of the most common reasons a pour fails to bond properly to the subfloor underneath it.
- Guessing the water ratio instead of measuring it. Too much or too little water affects both how the compound flows and how well it cures.
- Pouring beyond the product’s stated depth in one go. A standard compound poured too thick can crack or cure unevenly; a deeper-fill or fibre-reinforced product is generally needed for anything beyond a few millimetres.
- Tiling before the compound has fully cured. Trapped moisture under a tile bed laid too early is a common, avoidable cause of problems appearing months later.
- Ignoring a structural problem underneath. Self-levelling compound corrects level, not a moving or unsound subfloor, so any structural issue needs fixing first.
FAQs
How long does self-levelling compound take to dry before tiling?
It varies by product and by the depth poured, so always check the manufacturer’s stated cure time. Many standard compounds are walkable within a few hours but need considerably longer, often at least 24 hours, before they’re ready for tile adhesive on top.
How deep can you pour self-levelling compound in one go?
Most standard compounds are designed for a few millimetres up to around 10mm in a single pour, while a deeper-fill or fibre-reinforced formulation is generally needed for anything deeper. Always check your specific product’s stated depth range rather than assuming one figure applies across the board.
Do you need to prime the floor before using self-levelling compound?
Yes, in almost every case. The right primer depends on your subfloor, concrete, screed, and timber generally need different types, and skipping this step or using the wrong one is one of the most common reasons a pour doesn’t bond properly.
Can you use self-levelling compound on a wooden floor?
Often yes, but timber subfloors typically need a specific primer and sometimes a flexible or reinforced compound to cope with the small amount of movement timber has, which a standard rigid compound isn’t designed for. Check the manufacturer’s guidance for use over timber before starting.
Does self-levelling compound fix a sloping or structurally uneven floor?
It corrects minor to moderate unevenness and gives you a flat, level surface to tile onto, but it isn’t a structural fix. A genuinely sloping floor, or one with an underlying structural problem, needs that issue addressed first rather than relying on levelling compound to compensate for it.
How do you mix self-levelling compound?
Add the powder to the correct amount of water, following the ratio stated on the specific product, and mix continuously with a paddle mixer until it’s lump-free and pourable. Getting the water ratio right matters more than most steps in the process, since it affects both flow and cure quality.
In summary
Self-levelling compound is the standard way to correct an uneven floor before tiling, but the result depends more on preparation than the pour itself: fix any structural issues first, prime properly, measure the water accurately, and give it the full cure time before you tile. Rushing any one of those steps is where most problems trace back to later.
Browse Walls & Floors’ levelling compounds to find the right product for your subfloor before your next tiling job.
