
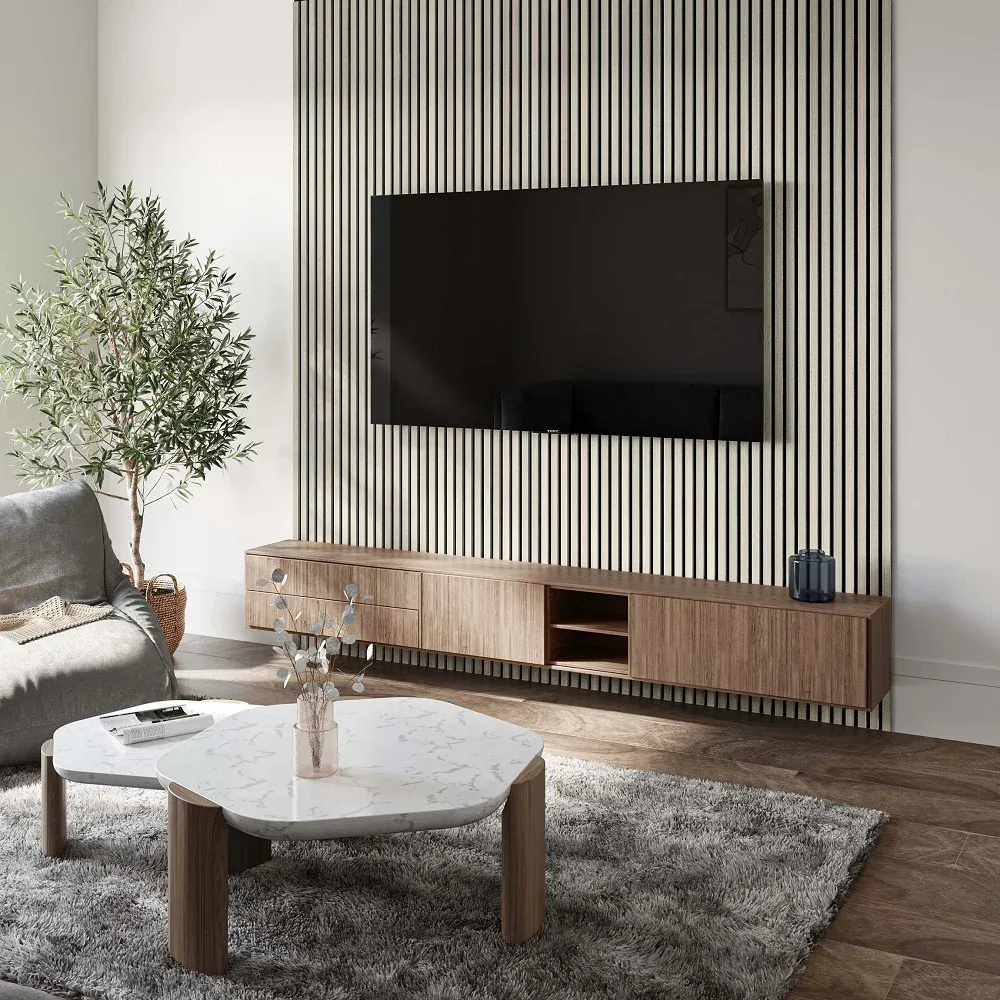
Walk into most Victorian, Edwardian, or 1930s terraced and semi-detached homes in the UK and you’ll find the same living room layout: a chimney breast in the middle of one wall, flanked by an alcove on either side. It’s such a standard feature that it’s easy to stop seeing it altogether, which is exactly why it’s usually left as flat, painted plasterboard rather than treated as the natural focal point it already is.
Wall panelling is one of the most effective ways to change that, and one of the least disruptive. You’re not moving anything structural, you’re not touching the fireplace opening itself (if there is one), and most of these ideas can be done over a weekend. This guide covers five practical ways to panel a chimney breast and its alcoves, along with the installation details, heat clearance, wall condition, and alcove depth, that decide whether the finished result looks considered or causes problems six months later.
Table of Contents
Why this space is worth decorating
A chimney breast projects out from the wall, which means it already catches the eye before you’ve done anything to it. Left plain, it just reads as a lump in the room. Panelled, painted, or textured differently to the rest of the wall, it becomes the feature the rest of the room is arranged around, which is a big part of why it works so well as a focal point for a sofa, a media unit, or a fireplace surround.
The alcoves either side do a different job. They’re recessed rather than projecting, which makes them the natural spot for storage or display, and treating them as part of the same design scheme as the chimney breast (rather than ignoring them) is what makes a finished chimney wall look like one considered piece of design rather than a fireplace with two gaps either side of it.
Idea 1: Panel the chimney breast and alcoves in contrasting finishes

Rather than treating the whole wall as one flat surface, panel the chimney breast and the alcoves differently so the breast reads clearly as the feature. A common combination is a textured or vertical slat panel across the face of the chimney breast, with the alcoves left smooth and painted in a complementary tone, or vice versa: a smooth painted chimney breast with slat-panelled alcove backs either side.
The point of the contrast is to give the eye a clear focal point rather than one continuous, undifferentiated wall. It also gives you a natural place to stop the panelling, at the internal corner where the chimney breast meets the alcove, which is a much cleaner edge to work to than trying to run one panel type around an external corner.
Idea 2: Run fluted panelling floor-to-ceiling
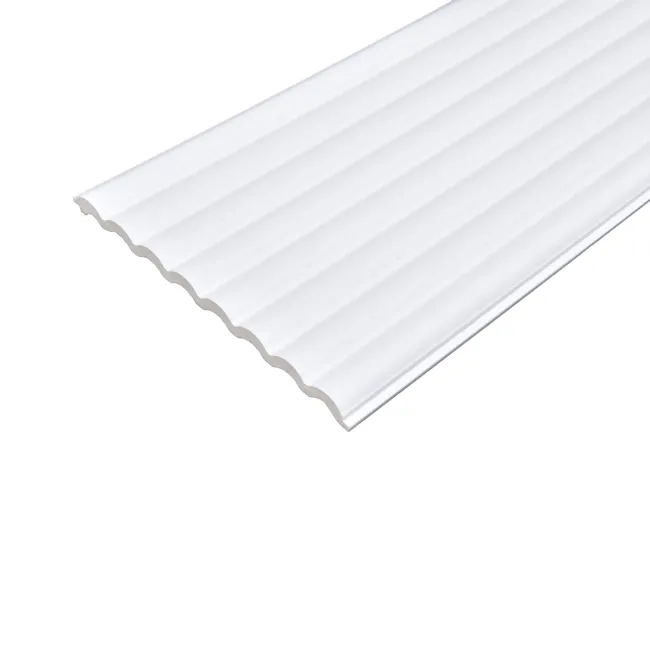
Fluted and reeded panels, with their repeated vertical grooves, are one of the more forgiving panel styles to work with on a chimney breast because the vertical line does a lot of the visual work for you. Running the panels continuously from skirting board to ceiling, across both the chimney breast and the alcoves, draws the eye upward and makes the room read as taller than it is, which is useful in the many UK living rooms with ceiling heights well under 2.4 metres.
The grooves also catch light differently depending on the time of day and the angle of any nearby lamps, which gives a flat wall genuine depth without needing a strong colour to do it. It’s a good choice if you want texture and interest without committing to a bold colour statement.
Idea 3: Panel the alcove backs and add shelving or cupboards on top

This is the idea worth spending the most time getting right, since alcove storage is what most people are actually looking for when they start thinking about this space. Line the back wall of each alcove in a panel with a bit of grain or groove to it, tongue and groove or a fine slat profile both work well, and leave the chimney breast in a plain or contrasting finish so it stays the visual anchor.
Once the backdrop is in, you’ve got a few realistic directions for the alcoves themselves: open shelving, which shows off the panelling behind it and works well as a bookcase or for display pieces, a built-in cupboard, which hides the panelling but gives you enclosed storage, useful for anything you don’t want on permanent display, or a fitted desk if the alcove is doing double duty as a small home office. A lot of finished chimney walls mix these rather than repeating the same thing twice, shelving on one side and a cupboard on the other, for instance, which avoids the slightly stiff, showroom look of a perfectly symmetrical wall.
One practical point that’s easy to miss: panelling adds thickness to the back wall of the alcove, typically somewhere between 10mm and 25mm depending on the panel profile you choose. If you’re having shelving or cupboards built to a precise measurement, take that panel thickness into account before you order, not after, since it’s a much cheaper mistake to catch on paper than once the joinery has arrived.
Idea 4: Classic Shaker moulding or half-height wainscoting in a bold colour
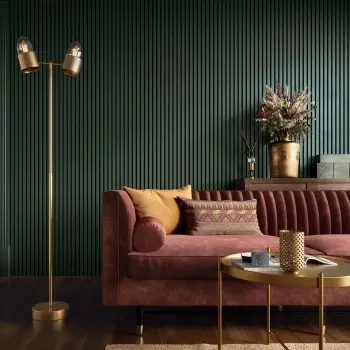
If you want a more traditional look, lightweight MDF moulding strips arranged into simple rectangular panel frames, then painted in one bold, solid colour, gives you a classic Shaker-style wall without the cost or disruption of solid timber panelling. This works across the full height of the chimney breast and alcoves, or as a half-height wainscoting with a small display ledge along the top, which is a good option if you’d rather keep the upper wall a lighter, simpler colour.
The advantage of doing this in a strong colour rather than a neutral is that it makes the most of the panel frames themselves: the shadow lines the moulding creates only really show up once there’s some contrast between the panel and the paint catching the light across it. A flat white-on-white version of the same moulding tends to disappear from a few feet away.
Idea 5: Try a modern 3D or geometric slat panel for a monochromatic look
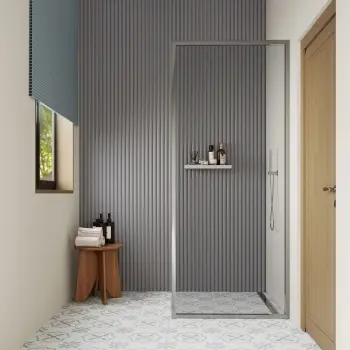
For a more contemporary finish, dimensional MDF panels with a repeating geometric or sculptural profile, kept in a single tone rather than mixed with a contrasting colour, give the chimney wall real texture and shadow without introducing another colour into the room. An all-white or all-charcoal geometric panel reads as sculptural rather than busy, which suits a room that’s otherwise quite pared back or already has a strong colour elsewhere.
This is a good option if the rest of your living room décor is fairly settled and you want the chimney wall to add interest through form and shadow rather than colour, since it won’t compete with anything else in the room the way a bold paint colour might.
What about alcoves without a chimney breast?
Bedrooms in the same period properties often have the recessed alcove shape either side of a chimney breast that’s been boxed in upstairs, or sometimes a standalone recess with no chimney at all, and the same panelled-backdrop approach from Idea 3 works just as well there. The main difference is what goes in front of the panelling: in a bedroom, a fitted or semi-fitted wardrobe is usually the more practical choice over open shelving, since it gives you enclosed hanging space rather than display storage.
The panelling itself doesn’t need to change much for this. A tongue-and-groove or slim slat backdrop still gives a fitted wardrobe carcass something more interesting to sit against than bare plasterboard, and it’s worth choosing the wardrobe doors first if you’re set on a particular panel finish, since a glazed or open-fronted wardrobe will show the panelling behind it, while solid doors will hide it entirely.
Getting the installation right
This is the part most chimney breast guides skip, and it’s where a nice-looking idea either holds up long-term or causes a problem.
Keep timber-based panels clear of any working fireplace opening and heat source. A chimney breast can retain background heat even from a fire that isn’t currently lit, and the wall around a working fireplace opening is subject to clearance requirements under the Building Regulations for England and Wales (Approved Document J covers combustion appliances and their surrounds), as well as the stove or fire manufacturer’s own fitting instructions. If you have a working fireplace, log burner, or gas fire, check the manufacturer’s stated clearance distances and, if you’re at all unsure, get a HETAS-registered installer or a qualified builder to confirm what’s safe before you fix any combustible panel material near it. This isn’t a step to guess at.
Check the wall before you fix anything to it. Older chimney breasts are more prone to damp than a standard stud wall, particularly if the flue is no longer in use, and panelling over a damp patch just hides a problem that will keep getting worse behind the panel. It’s also worth checking for existing electrical cables or pipework chased into the plaster, especially around a fireplace where wiring for lighting or a TV point is common, before you start drilling fixings.
Measure the alcove properly, not just once. Older houses are rarely built perfectly square, and it’s common for an alcove to be a few millimetres different in width from top to bottom, or for the chimney breast itself to be slightly out of true. Measure at the top, middle, and bottom of each alcove, and buy panels with enough cutting allowance to scribe them in against a wall that isn’t perfectly flat, rather than assuming one measurement will do for the whole height.
FAQs
Can you panel over a chimney breast?
Yes, provided the wall itself is dry, sound, and structurally fine, panelling can be fixed directly to a chimney breast in the same way as any other wall. The main things to check first are damp, particularly on older or disused chimneys, and any electrical cabling or pipework that might be chased into the plaster.
Is it safe to panel near a working fireplace?
Only within the clearance distances set out by the fireplace or stove manufacturer and current Building Regulations (Approved Document J in England and Wales covers combustion appliances). Timber and MDF panels are combustible, so they need to be kept well clear of the fireplace opening and any surface that gets hot in use. If you have a working fire or stove, check the manufacturer’s fitting instructions and, if you’re unsure, ask a HETAS-registered installer before fixing panels nearby.
What can you do with an awkward or blocked-up chimney breast?
Panelling is one of the more effective ways to deal with a blocked or disused chimney breast, since running a consistent panel finish across the whole wall, breast and alcoves together, stops the blocked-up section reading as an obvious lump or patch. A vent is usually still required for a blocked flue to prevent trapped moisture, so check that any existing vent is left clear and unobstructed by the panelling.
Do alcove shelves on either side need to match?
No, and in practice a lot of the best-looking chimney walls use two different treatments, open shelving on one side and a cupboard on the other, for example, rather than a perfectly symmetrical pair. What matters more for a cohesive look is that both alcoves share the same panelled backdrop or colour family as the chimney breast, so the asymmetry reads as a deliberate choice rather than a mismatch.
Can you build a TV media wall using these panelling ideas?
Yes, a panelled chimney breast is a popular base for a media wall, since the panelling gives you a textured, finished backdrop behind a mounted television, and the alcoves either side are a natural spot for AV cabinets or floating shelving. If you’re chasing cables into the wall behind the panels, plan that routing before the panels go up, and check your TV bracket’s fixing requirements against the wall type before drilling.
Can you use these ideas for a bedroom alcove without a chimney breast?
Yes. The panelled-backdrop technique works the same way whether the alcove sits beside a chimney breast in a living room or on its own in a bedroom. The main difference is what you put in front of it: a fitted or semi-fitted wardrobe is generally the more practical choice for a bedroom alcove, over the open shelving or cupboards that suit a living room chimney wall.
Can you fit alcove cupboards or panelling yourself, or do you need a carpenter?
Panelling a flat chimney breast is a realistic weekend job for someone comfortable with basic DIY, provided the wall is in good condition and square enough to work with. Built-in alcove cupboards to a bespoke fit, and any panelling that has to be scribed around an uneven or non-square alcove, are usually worth handing to a carpenter, since getting a tight, professional-looking fit against an imperfect older wall is a different skill from fixing flat panels to a flat surface.
In summary
A chimney breast and its alcoves are usually the most architecturally interesting wall in a UK living room, even when they’re the most overlooked. Panelling, whether that’s a textured slat finish, fluted panels run floor to ceiling, a panelled alcove backdrop behind new shelving, classic Shaker moulding in a bold colour, or a modern geometric panel, is a low-disruption way to turn that wall into the room’s focal point rather than just where the fireplace happens to be.
The ideas matter less than getting the basics right first: check the wall for damp and hidden cabling, keep any combustible panel material at a safe distance from a working fireplace or stove, and measure each alcove properly rather than assuming it’s square. Get those right, and browse Walls & Floors’ wall panel range to find the finish that suits the style you’re after.
