
Tiling for yourself is a handy skill to have and one you can take a lot of pride in. However when it comes to doing it yourself, you will face challenges and obstacles. One of the most common is the challenge of tiling around an existing electrical socket or light switch. Here’s our guide on how to tile around a light switch or socket!
This may seem like a big problem to a DIYer, especially with the added risk of electrics, but this handy guide will give you all the information you need to achieve a professional look around your sockets, safely.
Table of Contents
1. Ensure the electrical current is not live
The ABSOLUTE first thing you must do is isolate or turn off your electrical connection. You will need to unscrew your sockets to tile behind the front plate. Do not have live electrics hanging and run the rick of shocking yourself
If you are unsure or uncomfortable with this – get an electrician in to do it for you.
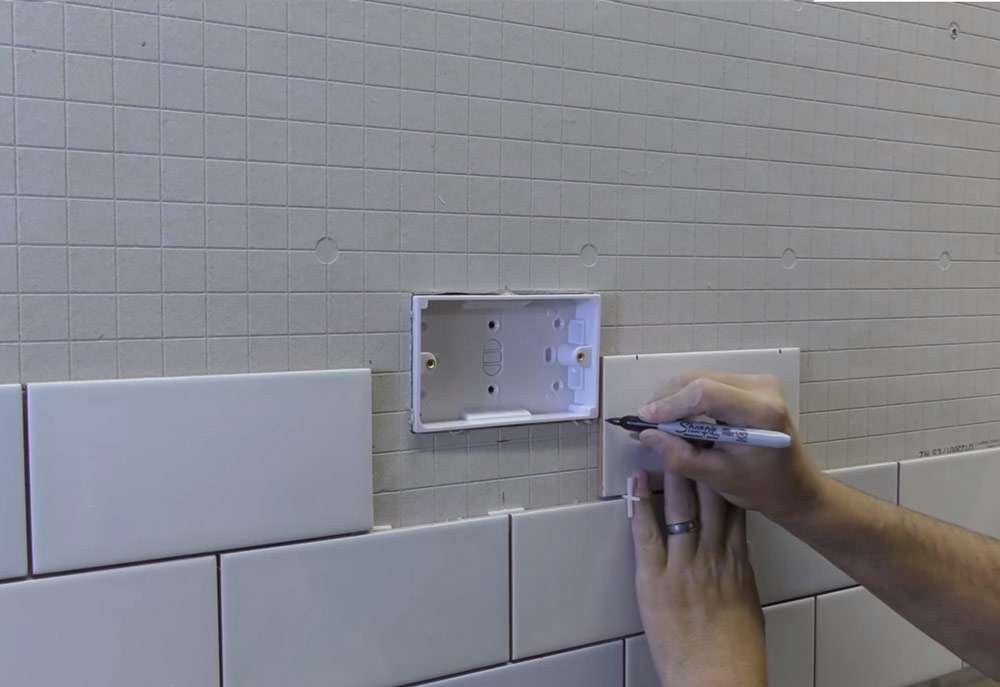
2. Remove the face plate
Unscrew the face plate and pull the wiring out of the back box, so you have a flat surface to work with and space to measure the tile that needs to be cut.
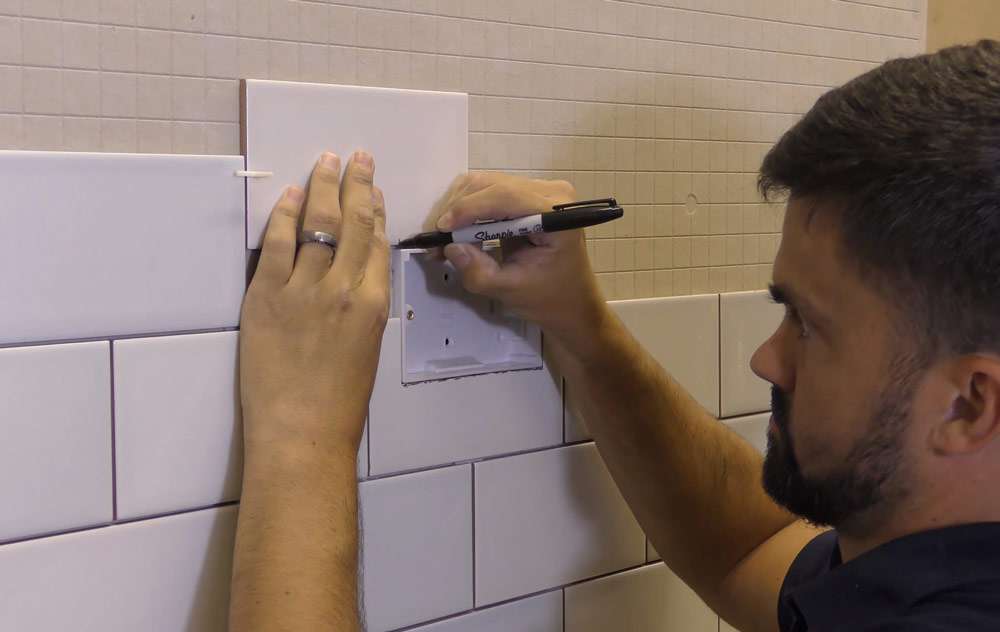
3. Measure the tile
When it comes to measuring and marking, leave an approx. 2mm gap around the back box for the face plate to sit on top off.
When you come to a tile that is obstructed by the socket, hold it over the socket, and mark the width of the obstruction onto the tile.
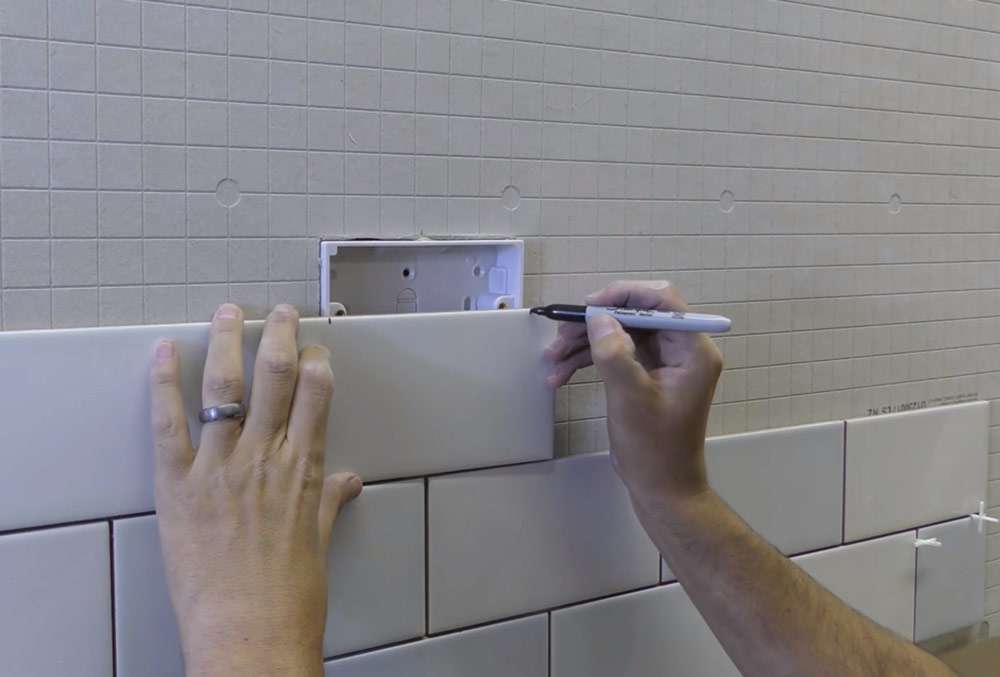
Next, move the tile beside the socket and mark the height of the obstruction.
Next, join up the dots, and mark the block that needs cutting out, so you don’t get confused later on.
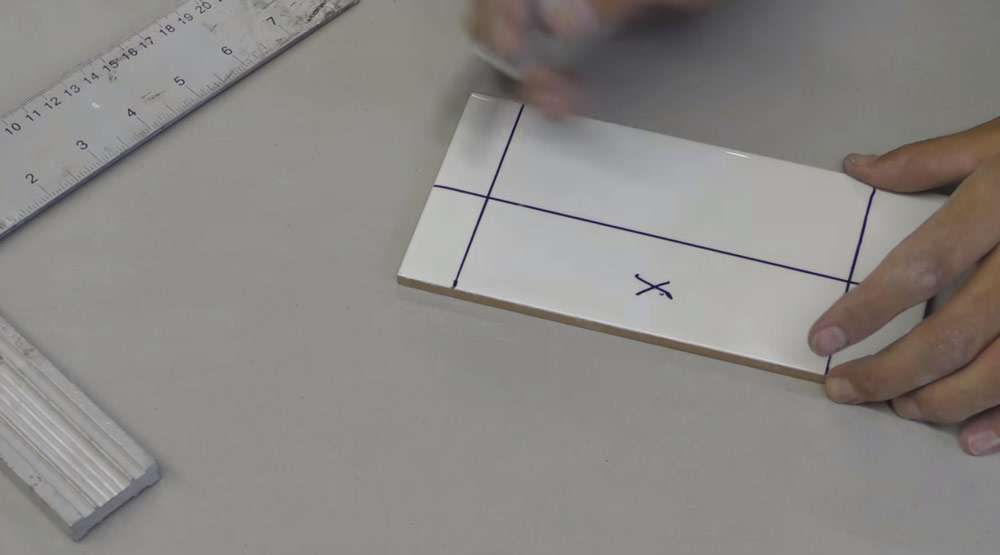
TOP TIP: Measure twice and cut once. You cant un-cut a tile! It is always smart to have a few spares too, just in case you make a mistake.
4. Cutting
If you are cutting into one side of a tile:
After you have your marks, use an electric cutter to cut through the horizontal lines, then use a scribe or manual cutter to score the vertical line.

Then use your nippers you break the piece you need to remove.
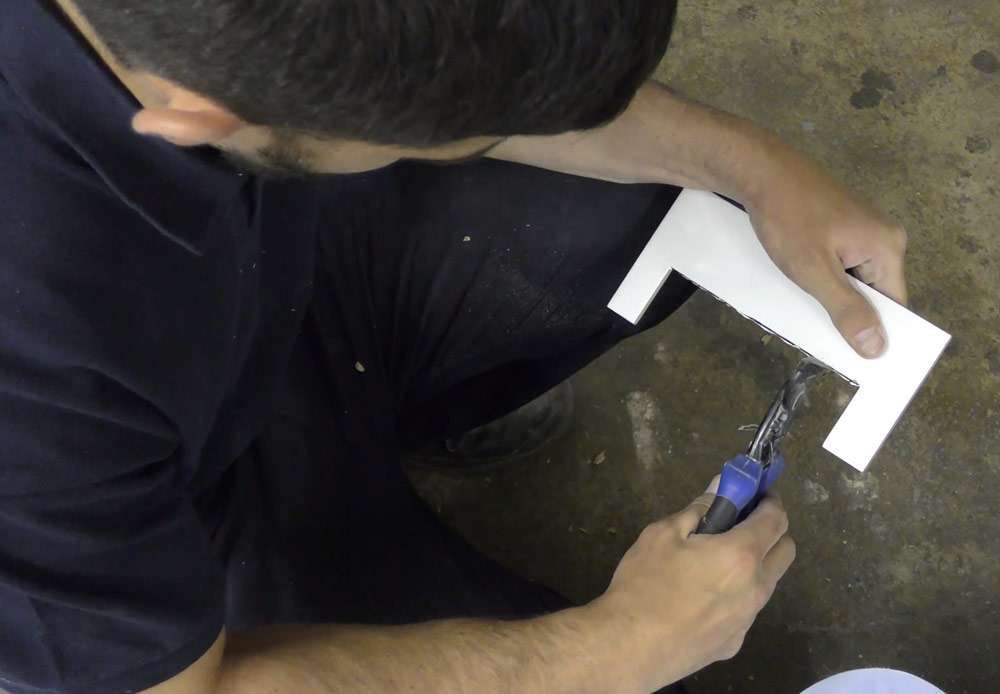
Install the piece, and repeat the process for all tiles that are obstructed by the socket.
TOP TIP: You can also use an angle grinder to do all three cuts – but cut the back and not the front to ensure the front remains perfect
If you are cutting a hole in the middle of the tile:
When you have your measurements, use an angle grinder (on the back) to cut through and then lightly tap the area in the middle of the cuts to make it fall out without damaging the rest of the tile.
TOP TIP: You can use an electric cutter if it has the capability to do plunge cuts
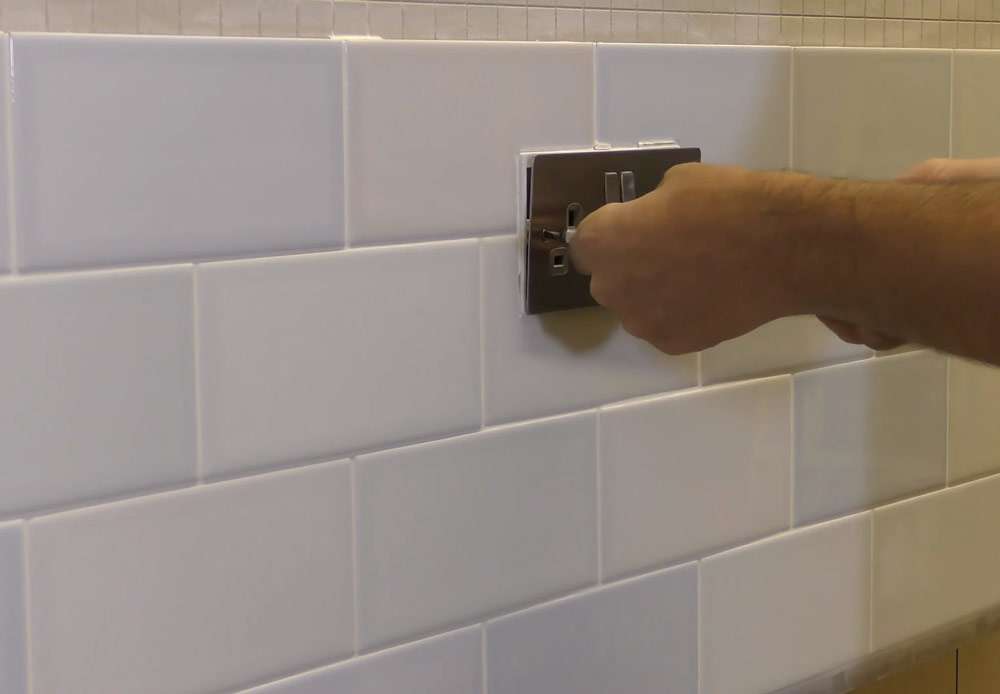
5. Tiling around the back box
The remaining process is straightforward wall tiling. Here’s a handy guide: How To Tile A Wall.
Just be careful not to get any adhesive in the electricals. Then when your tiles are set and secure, reattach the faceplate.
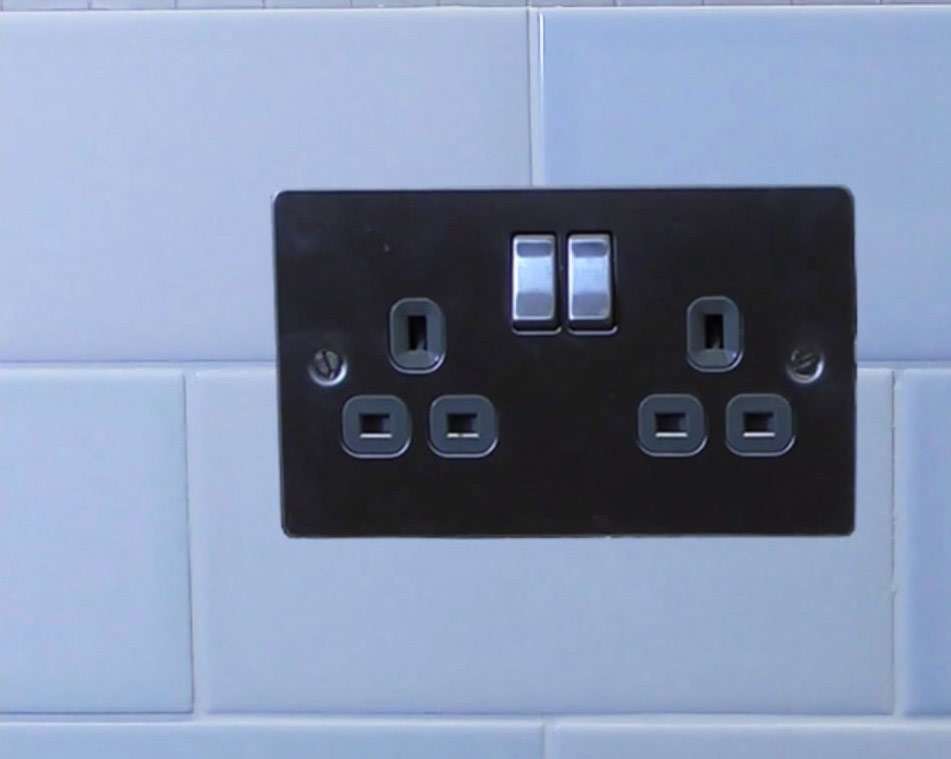
There you have it! How to tile around a light switch or socket! By following these instructions you can achieve a professional look around your light switches and electrical sockets without the need to grout around the socket. Be sure to tag us in pictures f your DIY projects over on Instagram, @Wallsandfloors, we love seeing what you’ve been up to!
