
Hardie backer boards are a great assistant to any tiling job and provide a strong base for any project you are undertaking.
The purpose of a cement backer is to create a surface for you to tile onto. The surface is straight and flush; taking away the worry of an uneven wall or floor. As it is cement, it is resistant to mould, rotting and moisture damage meaning it is the perfect backer for showers, kitchens and bathrooms.
So how do you install these boards? Let’s have a look…
Table of Contents
Applying the board
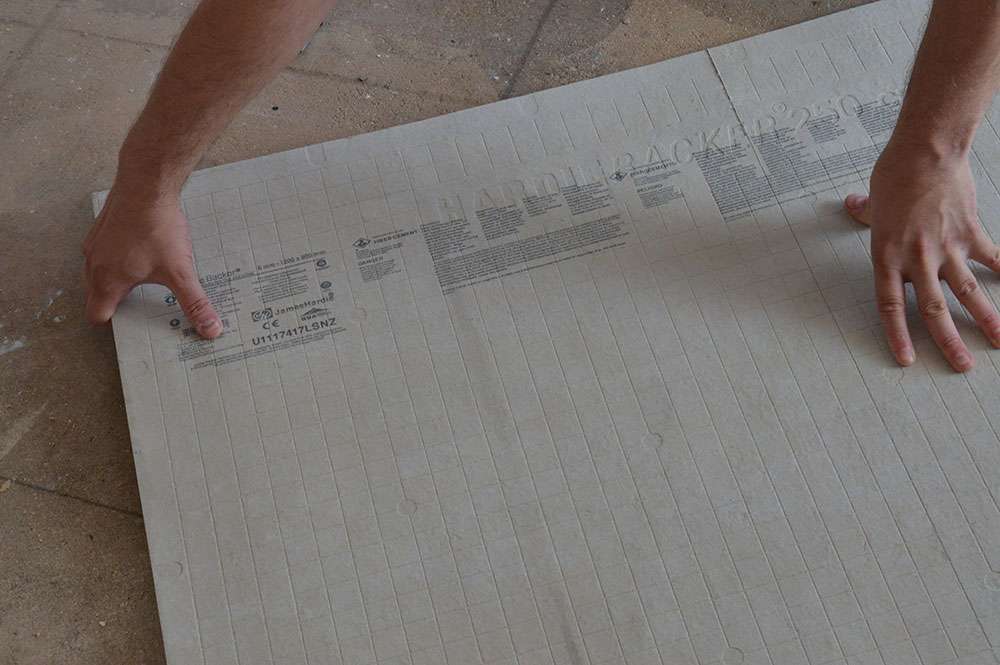
The backer comes in panels and is made of cement – therefore it is heavy. Always assess the weight before attempting to apply the board to the surface. If you are unsure, make sure you get help – especially if you are attaching it to a high area of the wall.
There will be a point where you need to cut the board as no wall is exactly the right size and there are obstacles such as pipes and electrics to consider. The best methods are backer board shears (a tool designed for this job) or a jigsaw with a coarse wood blade or a utility knife, as shown below.
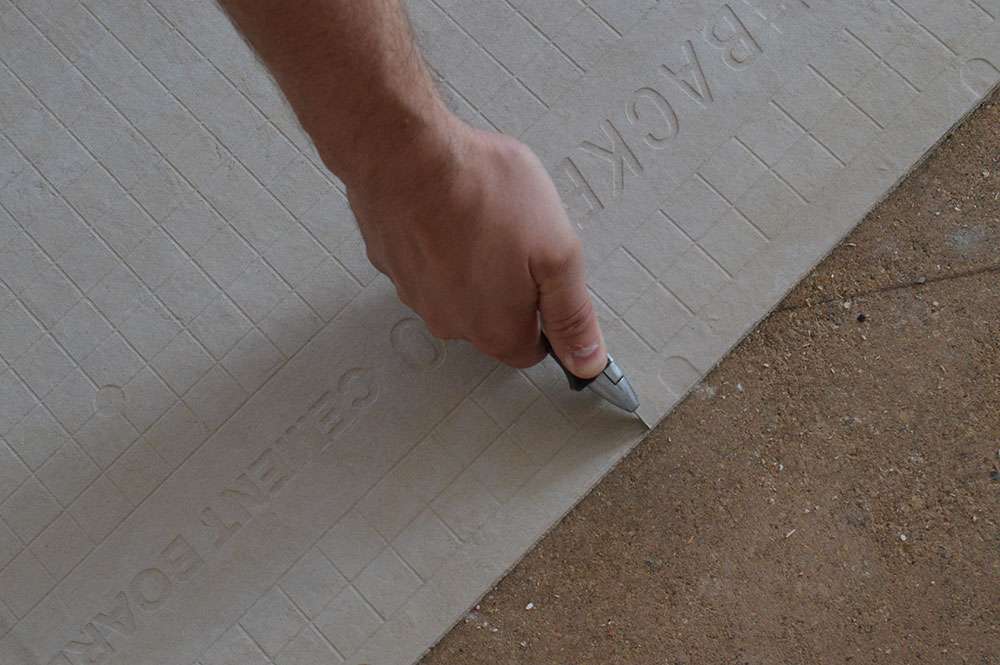
TOP TIP: HARDIE BACKER BOARDS ARE DESIGNED WITH A SQUARE INCH GRID SYSTEM TO AID MEASURING, SCORING AND CUTTING
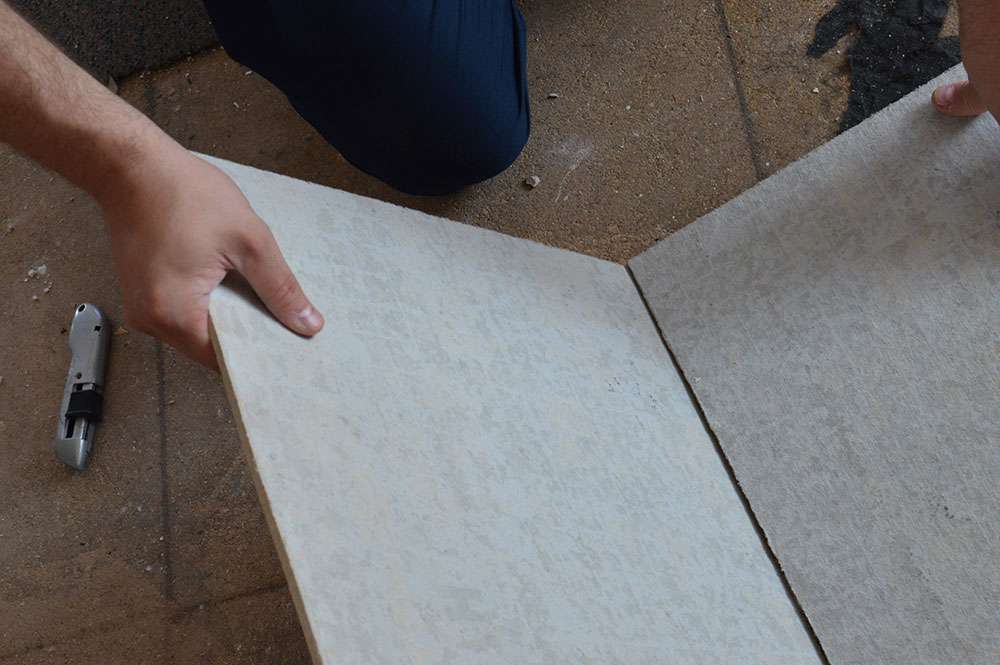
Obviously the shears are the best tool for the job – but can be expensive to buy (although hiring is an option). The Jigsaw method will work – take the saw slowly up the board and bear in mind you will ruin the blade. Using a utility/Stanley knife to score along the line works and requires you to snap the board along the line – always snap up for a clean break
TOP TIP – DO THIS OUTSIDE WHERE POSSIBLE AND ALWAYS WEAR A FACEMASK – DON’T BREATHE IN THE DUST. If you are doing this inside – open the windows
Using Hardie Backer Boards on Walls and Floors
Make sure that the surface is structurally sound before attaching backer boards – if not remove any previously damaged and unstable hazards.
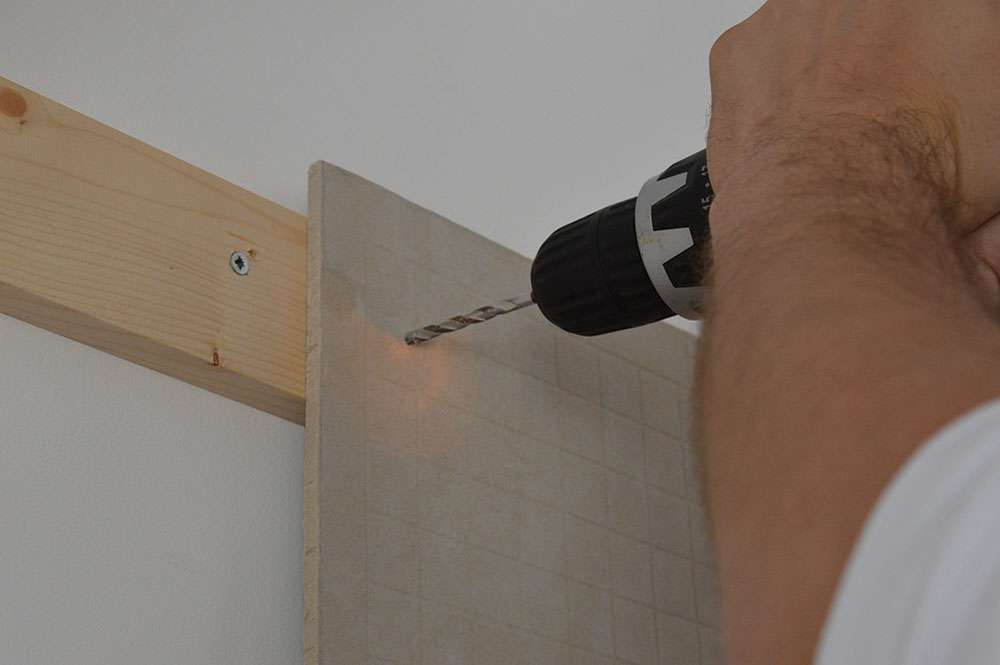
The board can be either nailed (with backer board nails) or screwed into the wall/floor. Always brick bond the boards as to avoid the corners meeting and creating a weak point in the wall.
If you are using the boards on a floor – use a thin set first to keep the board secure and nail/screw in afterwards.
With both wall and Floor use an Alkaline resistant fibre tape across the joints to add extra security and prevent the boards slipping and shifting over time.
General Info
Backer Boards are for internal use only
Their purpose id to provide a cement base to a timber wall – for extra structure and stability
They are waterproof and suitable for wet rooms and bathrooms
They are suitable with underfloor heating
Backer boards can be painted, plastered and wallpapered!
Tiling
Tiling on the backerboards is as simple as tiling on a normal surface – use the correct adhesive and off you go!
You can find Hardie Backer Boards here.
