
Tackling a spot of DIY tiling? Make sure you’ve got all the tools you’ll need! Here’s a handy checklist of tiling tools for your everyday project…
Table of Contents
Tiling Tools Checklist
Preparation
- Pencil
- Protective clothing – goggles and gloves
- Dust sheet
- Sponges and cloths
- Spirit level
- Stanley Knife
- Tape measure
- Step ladder (wall tiling)
- Scraper
Fixing
- Rubber mallet
- Wooden baton (wall tiling)
- Spacers
- Trowel
- Bucket
- Tile cutter
Grouting + finishing
- Grout float
- Grout finisher
- Dustpan and brush
Why do you need these tiling tools?
If you’ve got the time, let’s have a look at the functions of these tools in a little more detail…
1. Pencil
You would be surprised how often you use the trusty pencil when you are tiling – making notes and measurements and marking starting points. Whilst you may always remember a pencil in your tool box – do you have a sharpener?
The one weakness with pencils is that they aren’t great for marking the top of a tile – which is great when they are laid, just not when you are laying them. For this we recommend either a china marker or a silver marker pen.
Chalk is also useful for marking lines across a floor – and providing your guide for laying your tiles.
2. Protective clothing
You are going to get dirty! Wear hardwearing clothes that can withstand the work you will be doing. Protective goggles for when you are cutting, latex or nitrile gloves to protect your hands from any cement you will be working with – cement burns and injuries are a very real risk.
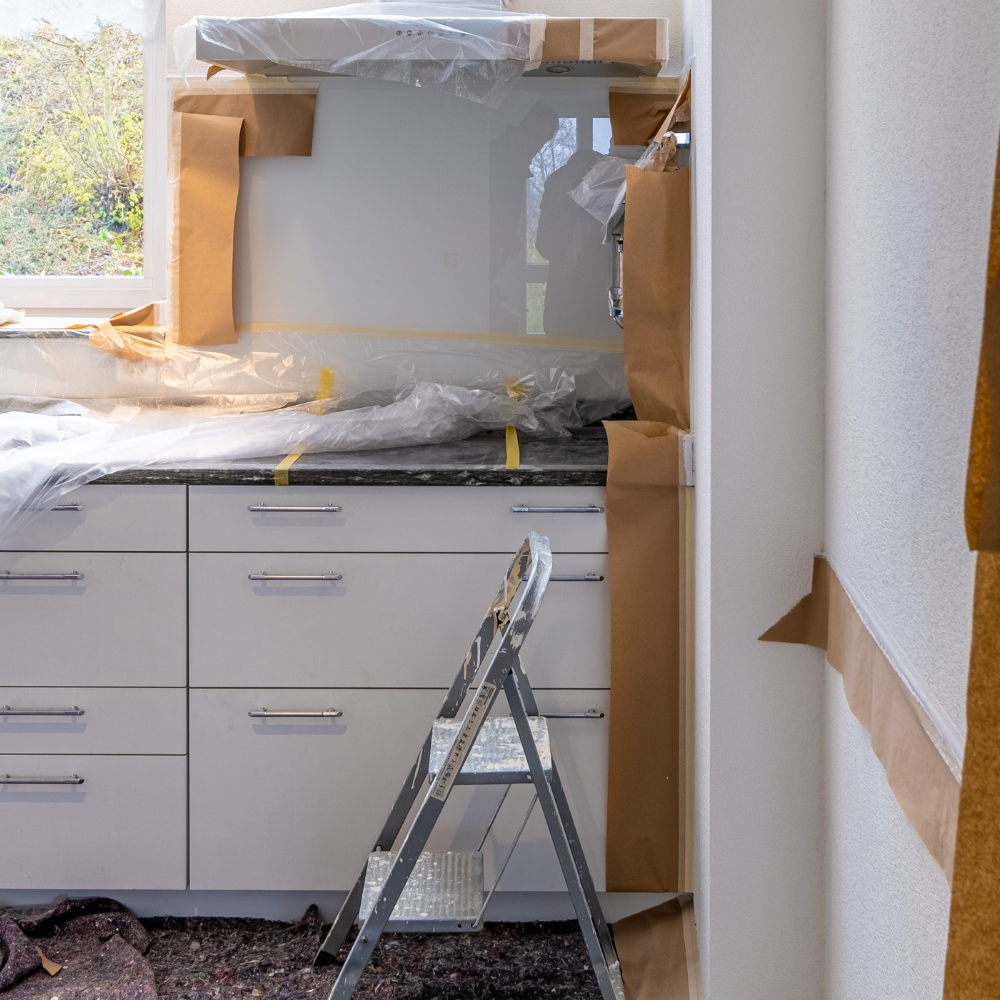
3. Dust sheets
Useful for protecting areas that are at risk of damage in the tiling area – bathtub, sinks etc. or even just to rest your bucket and tools on to protect the floor from getting dirty.
4. Sponges and cloths
To keep cleaning as you go – both surfaces and tools. It’s good practice to be in the habit of cleaning as you go and not letting any grouts or adhesives set.
5. Spirit level
Never assume that your walls and floors are straight. It’s a common mistake to start your corner tile in the corner of the area you are tiling, only to find yourself going off at a not-quite-so straight line. Measure and make sure.

6. Stanley knife
Cutting tape, opening bags, cutting silicon nozzles – don’t overlook the trusty Stanley knife.
7. Tape measure
For measuring gaps and m2 – this should be a staple of your toolbox.
8. Step ladder
Consider how high you will be tiling – always remember to stay safe.
Getting started
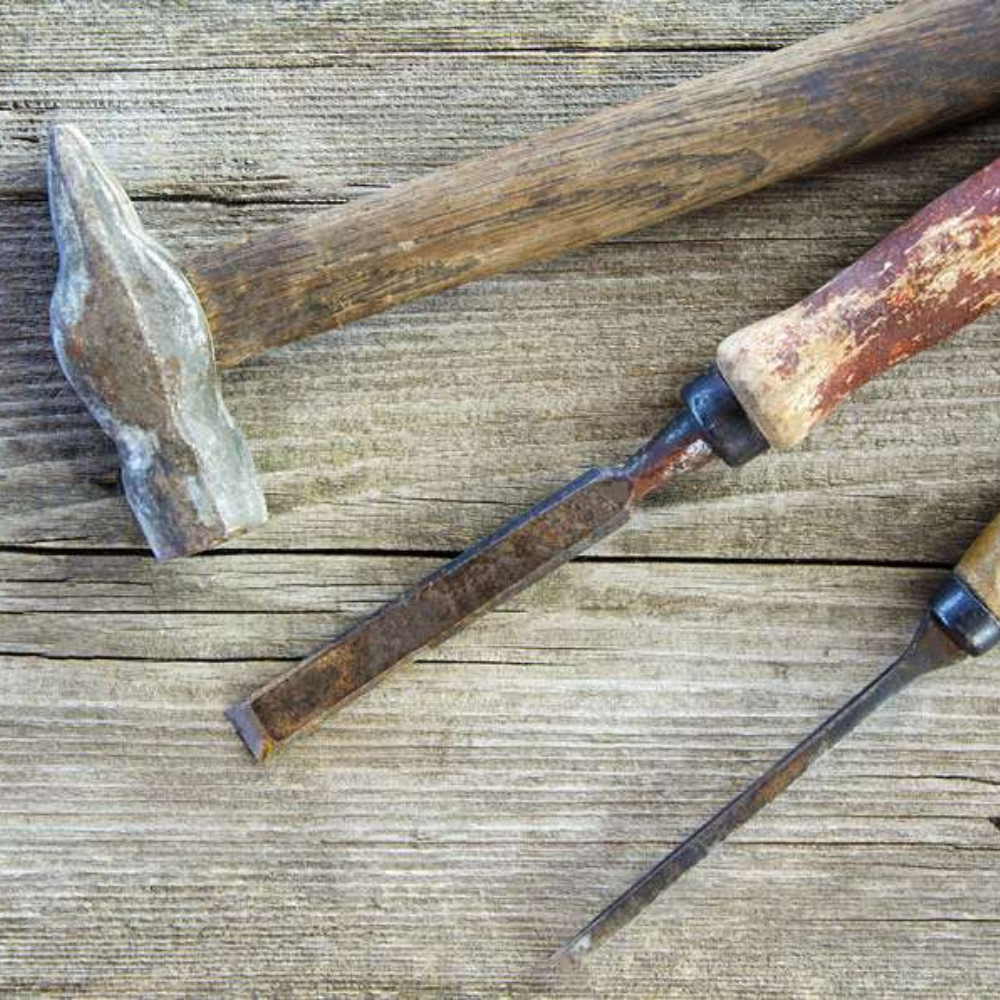
9. Scraper
Use a scraper for scraping old paint and/or adhesive from walls and floors for when you are preparing your surface to tile on to.
10. 24oz Rubber Mallet
A rubber mallet will help when levelling tiles – a gentle knock with the mallet helps keep everything level.
11. Wooden baton (for wall tiling)
For support of tiles until the adhesive is set. Just a strip of straight wood that can be temporarily screwed to a wall.
12. Spacers
These little crosses provide a uniform gap between tiles that is impossible to achieve without. They come in a variety of sizes and the choice is down to you as to how wide you want the grouting to be. Your tiled floor is designed to last, and the humble spacer will give you the professional look at the joints and gaps. British standard minimum recommendations are 2mm for walls and 3mm for floors, you can use 1mm with rectified tiles – use this as a good rule of thumb.
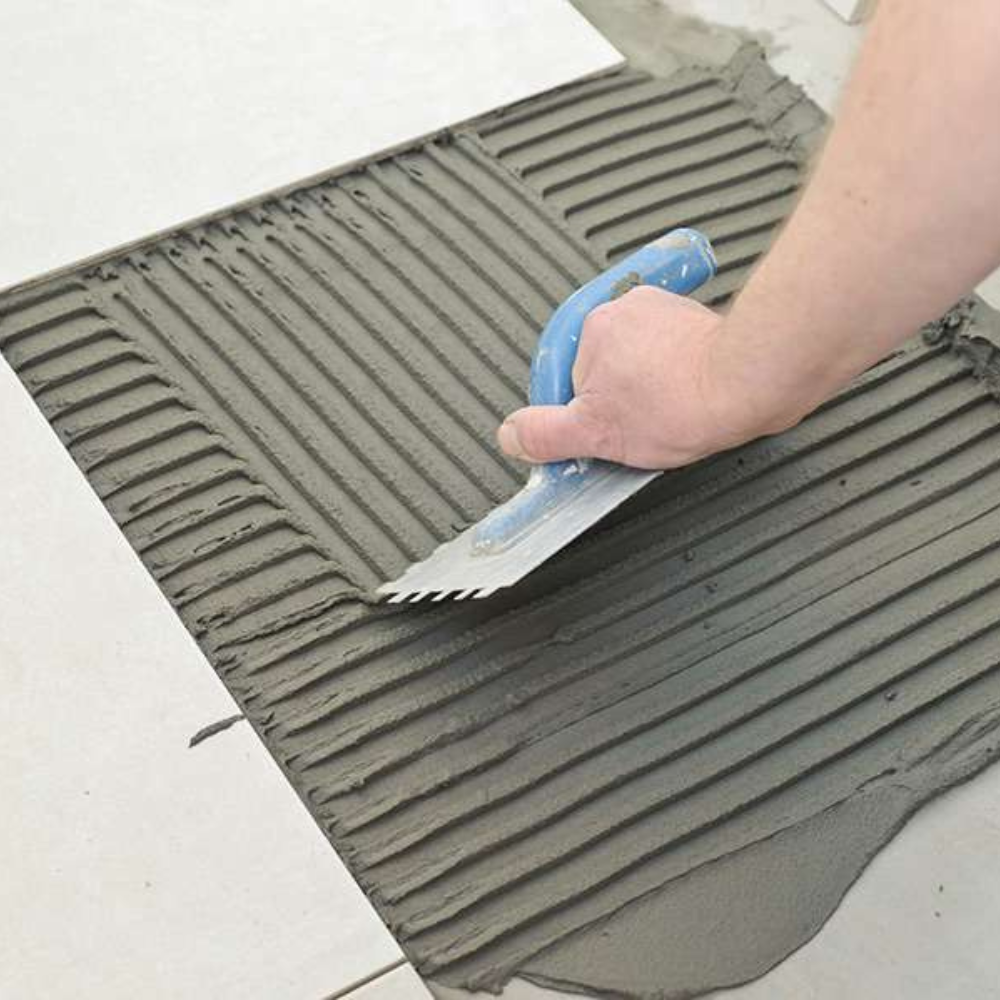
13. Adhesive Spreader / Trowel
When sticking tiles to a surface it is important to make sure you have an even covering of adhesive to make sure that the eventual tiled area is smooth and flat.
Use a notched spreader to create a combed effect with the adhesive – this tells you that the consistency is correct (as the ridges will stay intact), shows you where you have spread and the grooves create airways which help the tile to stick to the floor as it aids with the suction between tile and surface.
Top tip – only spread enough adhesive to do a few tiles at a time. It sets quickly and you run the risk of the tiles not bonding to the surface.
14. Tile Cutter
Unless your room is perfectly square, you are going to need a tile cutter. Cutting around edges and door frames is part and parcel of tiling. We recommend using some safety goggles, just in case, and using a set of Tile nippers to fine-tune any corners and awkward edges. When using nippers always remember to file down any rough or sharp edges with a tile file or polishing pads. Pads are available in various grits depending on the material being filed and the finish required. Always remember to stay safe
There are 3 different types of tile cutters:
- Manual Tile Cutter for straight cuts in ceramic or porcelain tiles. Pros – Very quick, mess-free
- Electric Wet Saw for straight or angled cuts in ceramic, porcelain, glass and natural stone (water is used to eliminate dust and keep the blade cool which minimises chipping). Motors are available in various wattages and most have a 45-degree mitring feature.
- Angle Grinder with a diamond blade – small, affordable but very versatile
15. Buckets
You will need a bucket for mixing grout in. Make sure the bucket is clean as you don’t want to discolour or affect your fresh grout in any way.
In addition to that, a bucket of clean water on hand for cleaning up any spills and excess adhesives/grouts is always handy as it’s a lot easier than cleaning up once it has all set.
A bucket trowel is a handy tool designed to get the last remnants out of a bucket and is also useful for lifting smaller tiles from the surface before they set – should you go wrong.
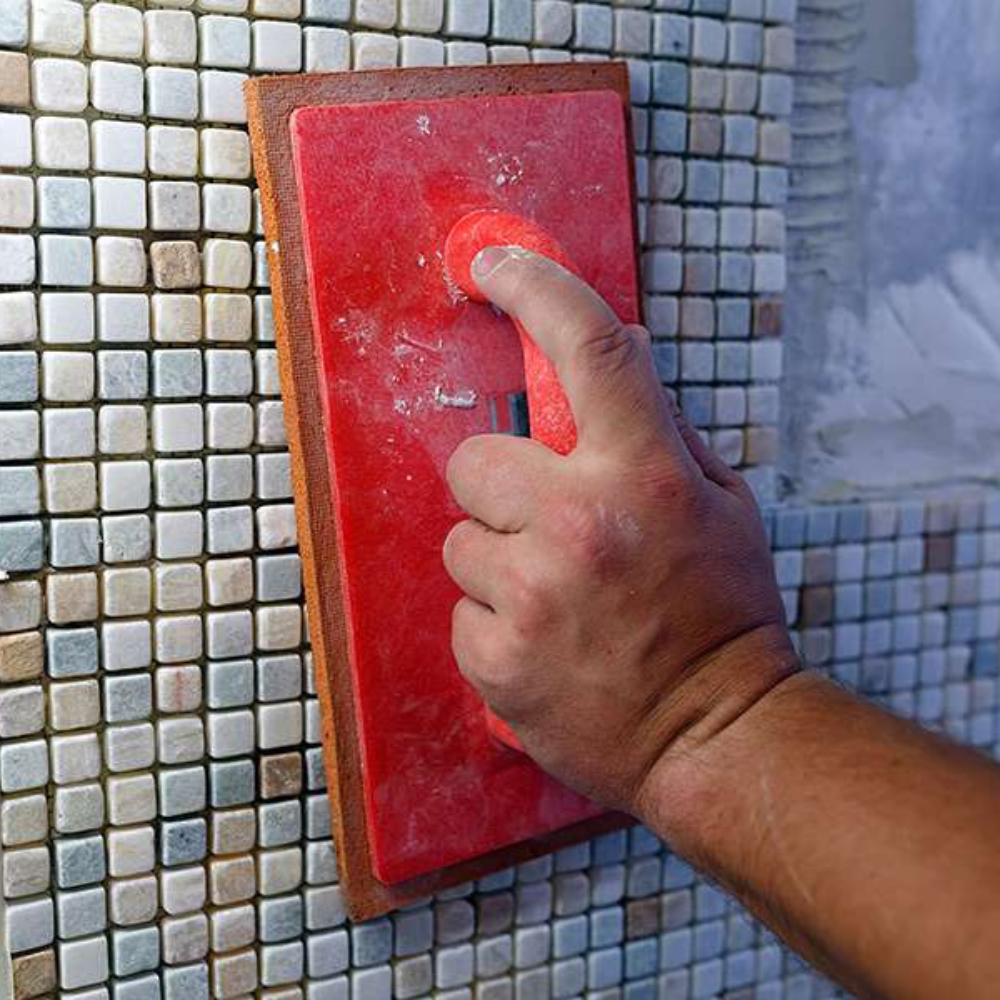
16. Grout Float
The Grout Float is designed to make the grouting process as smooth as possible. Spread the grout into the gaps between the tiles (grout joints) with the float. Made of rubber so as to not scratch your newly tiled surface it is important to keep your Float clean to extend its life and protect your tiles (a hardened bit of grout can scratch a tile).
17. Grout finisher
Only really suitable for grout joints 2 mm or less. This handy little tool is used for getting into the hard-to-reach areas and then finishing off the grouting with a smooth finish. One end is the ‘blade’ which you can use to fill in any gaps in the Grout Joints. The other end is the ‘ball’ which is used for smoothing out a line in the grout for a professional finish.
18. Dustpan and brush
Clean up after yourself and dust down as you go – small bits of dust and grit can leave the tiled area uneven, so always ensure your area is as clean as possible. Then make sure you clean up after yourself to truly show off your finished project.
Top tip – a spare hand brush is great for cleaning out excess adhesive from the joints (even though you may need to give the tiles a quick wipe-over with a sponge when you do it)
There it all is! A list of the tiling tools you’ll typically need for a standard job. Some of these items you will have already, some you will need.
If you found this guide helpful at all, you might like some of the other tips and tutorials in our blog, be sure to check it out! Make sure you tag is in pictures of your tiling projects over on Instagram, @Wallsandfloors, we love seeing what you’ve been up to!
RELATED: HOW TO DRILL TILES
RELATED: CAN I USE TILES BEHIND MY WOOD BURNER?
RELATED: HOW TO REMOVE OLD TILES
