
When it comes to installing tiles in your bathroom, you have two options: get a tiler in (check out our blog: How To Hire A Reliable Tiler) or embrace your inner DIYer and tackle the tiling yourself! Here’s what you’ll need to tile your bathroom…
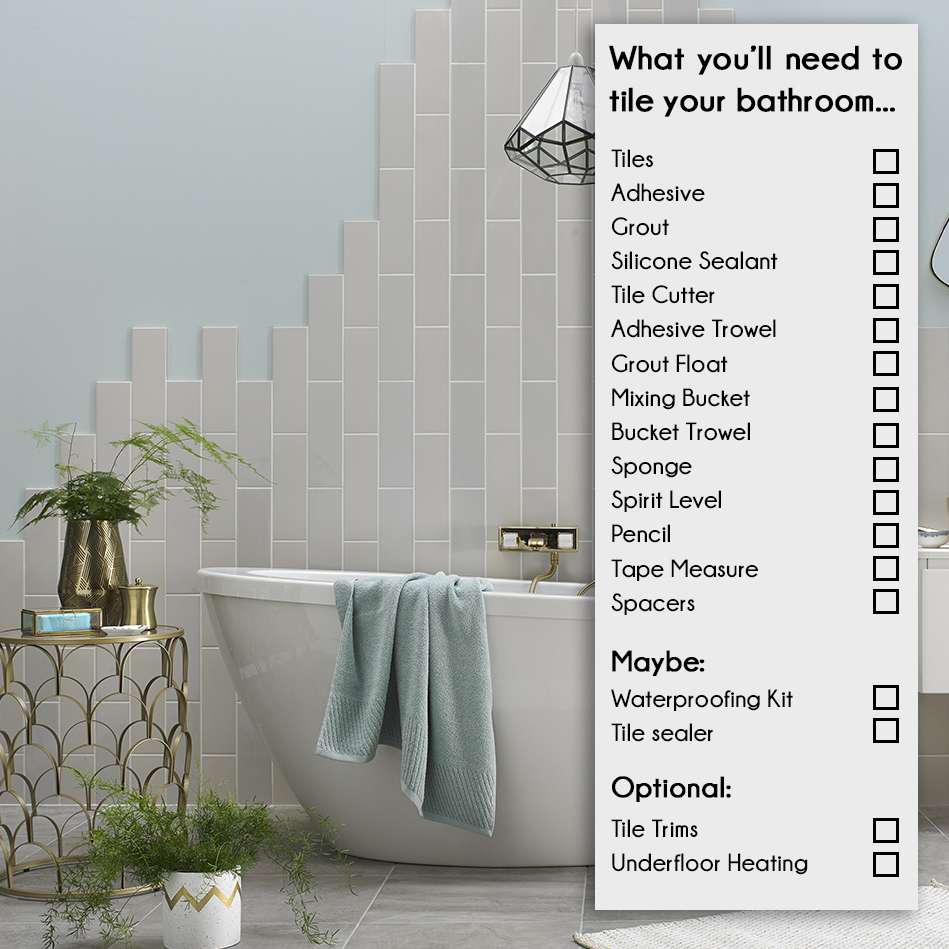
Table of Contents
1) Smooth, even surfaces
Firstly, you’ll need smooth, sound, level surfaces to tile onto – this will help to achieve the perfect tiled finish with no lumps and bumps!
On wall spaces, if you’ve just got the odd divot, filling them with plaster is a quick and inexpensive option. However, if the entire wall is in a bad state, fixing some HardieBacker Boards to it is the better choice; it’ll give you a hard, level surface to work with. Here’s a guide to installing Hardie Backer Boards.

For wooden floor spaces with a bit of flex or bounce, HardieBacker Boards are, again, the best option. However, if it’s a concrete floor, HardieBacker Boards aren’t recommended, so we’d suggest a levelling screed such as Bostik Screed Levelling Compound.
Once you’ve got your walls and floors smooth, sound and level, you’re ready to start tiling!
RELATED: How to prepare an uneven wall or floor for tiling
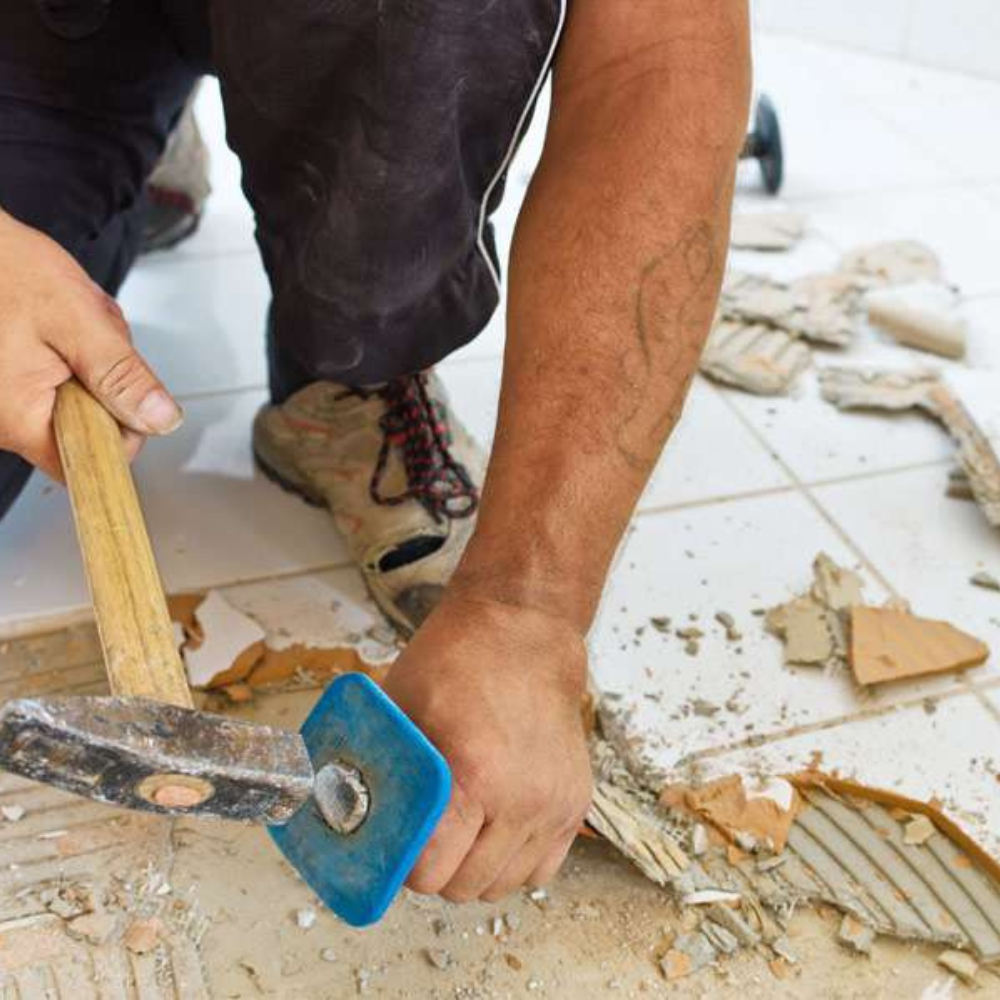
Extra point: Removing old tiles
Although you can tile onto existing tiles if they’re extremely level and clean, it’s not recommended- it’s best to remove them and to make the surface underneath smooth and even again using the suggestions above. Here’s a handy blog: How To Remove Old Tiles.
2) Tiles
A bit of an obvious point, perhaps, but the second thing you’ll need to tile is your bathroom is, well, tiles! There are 6,000 to choose from at Walls and Floors, so you’re spoilt for choice! For a soothing, spa-styled appearance, you might like to opt for a natural scheme, using stone effect and wood effect tiles.
To inject some extra character into your bathroom, you can combine the base tiles with mosaic tiles to create feature strips and border tiles – but the choice is all yours! Sample tiles are available with Free Delivery to help make sure you’re choosing the right tile for your bathroom. Browse the tile collection.
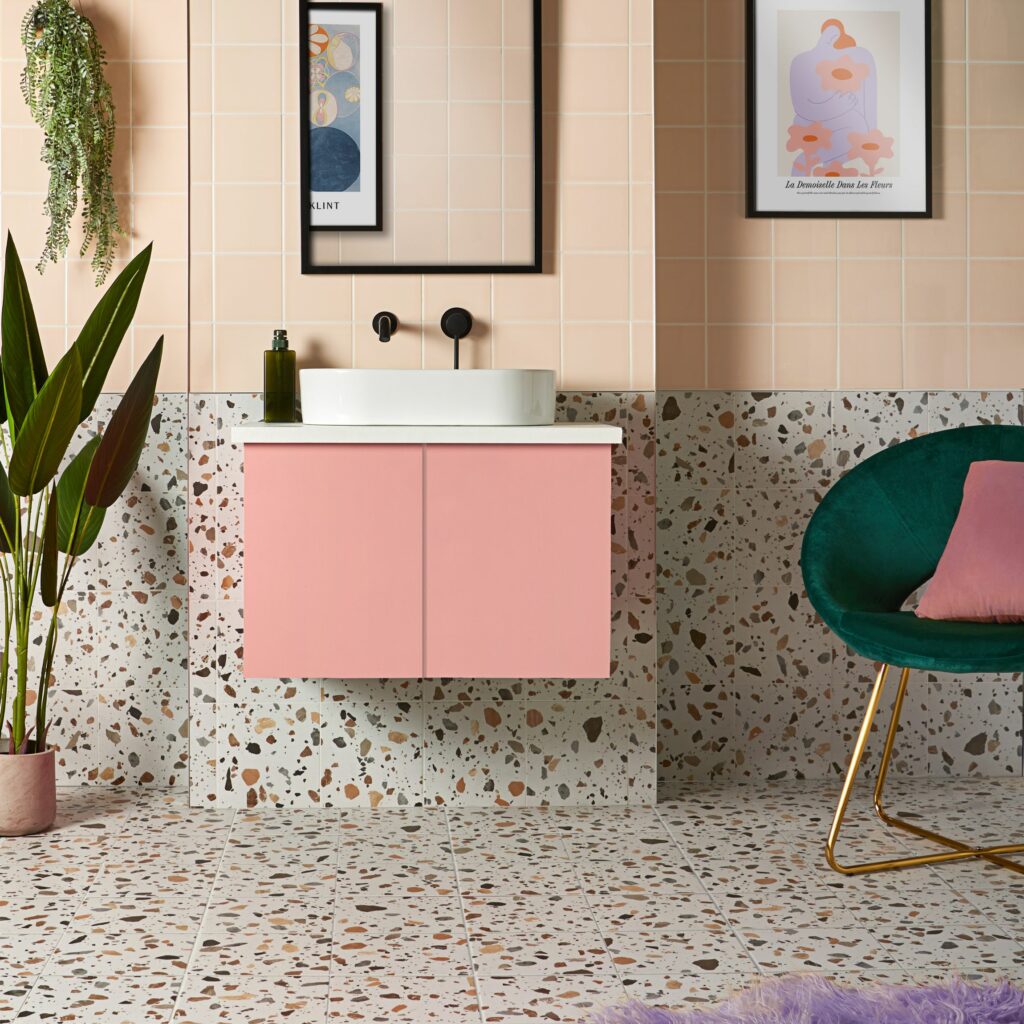
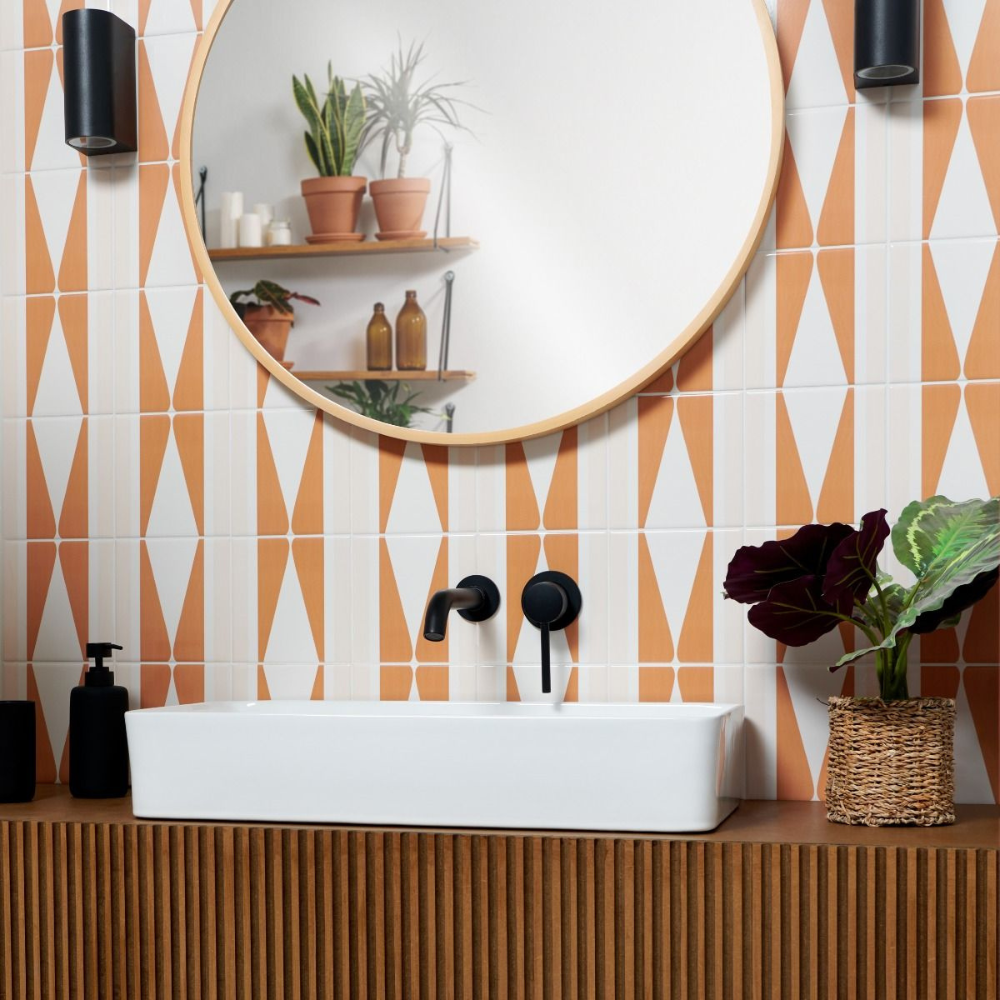
Above, Popsical Earth Terrazzo Ceramic Tiles
3) Adhesive
The third thing you’ll need to tile your bathroom is adhesive and grout! The adhesive secures your tiles in place, and the grout bridges the gaps to help keep them watertight, protected and in place.
For wall tiles under 300x300mm, you can use our ready mix Kwik Grip Ice White Wall Tile Adhesive. Just give it a quick stir and away you go! If your wall tiles are larger than 300x300mm, you’ll need to use a powder-based adhesive, such as Uniflex White Wall & Floor Tile Adhesive.
For those bathroom floor spaces, our Uniflex White Wall & Floor Tile Adhesive is a good choice for tiling onto HardieBacker Boards and concrete substrates! Tiling directly onto wood isn’t recommended as there will usually be some spring and bounce in the substrate, which won’t do your tiles and grout joints any good!
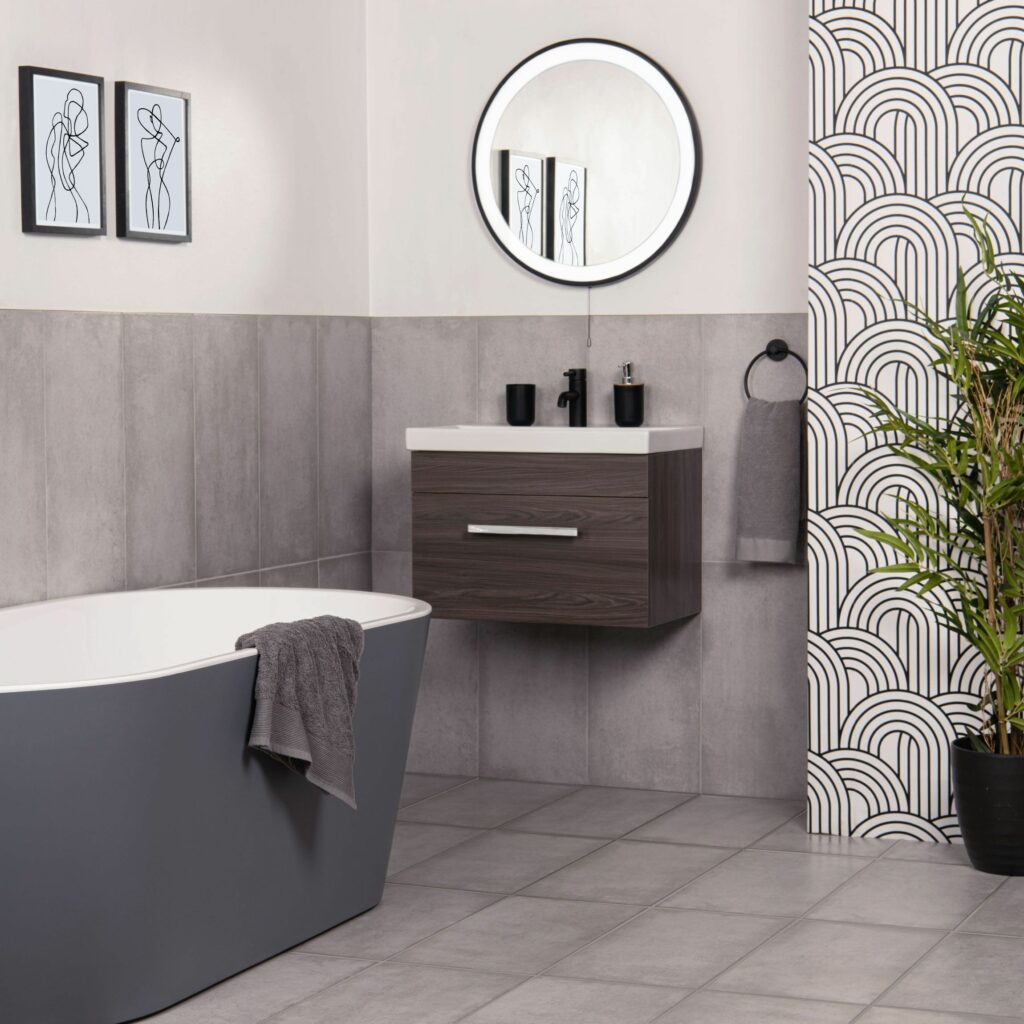
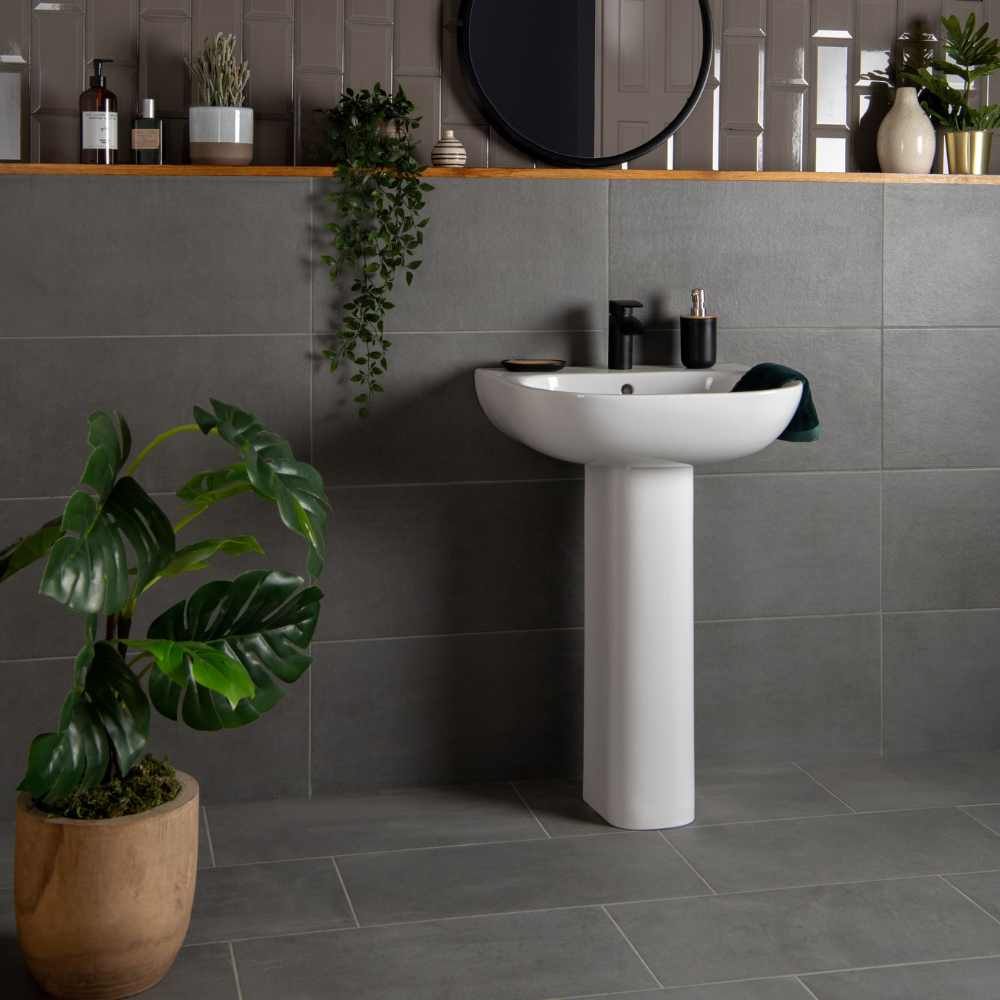
Above, Samphire Matt Grey Tiles
4) Grout
When it comes to choosing grout for either your walls or floors, the choice of colour is yours! Choose something you feel really complements and enhances the tiles you’ve chosen. The Mapei Ultracolour Plus collection has plenty of colours to choose from.
For step-by-step videos on how to tile both walls and floors, check out our How To Tile Videos!
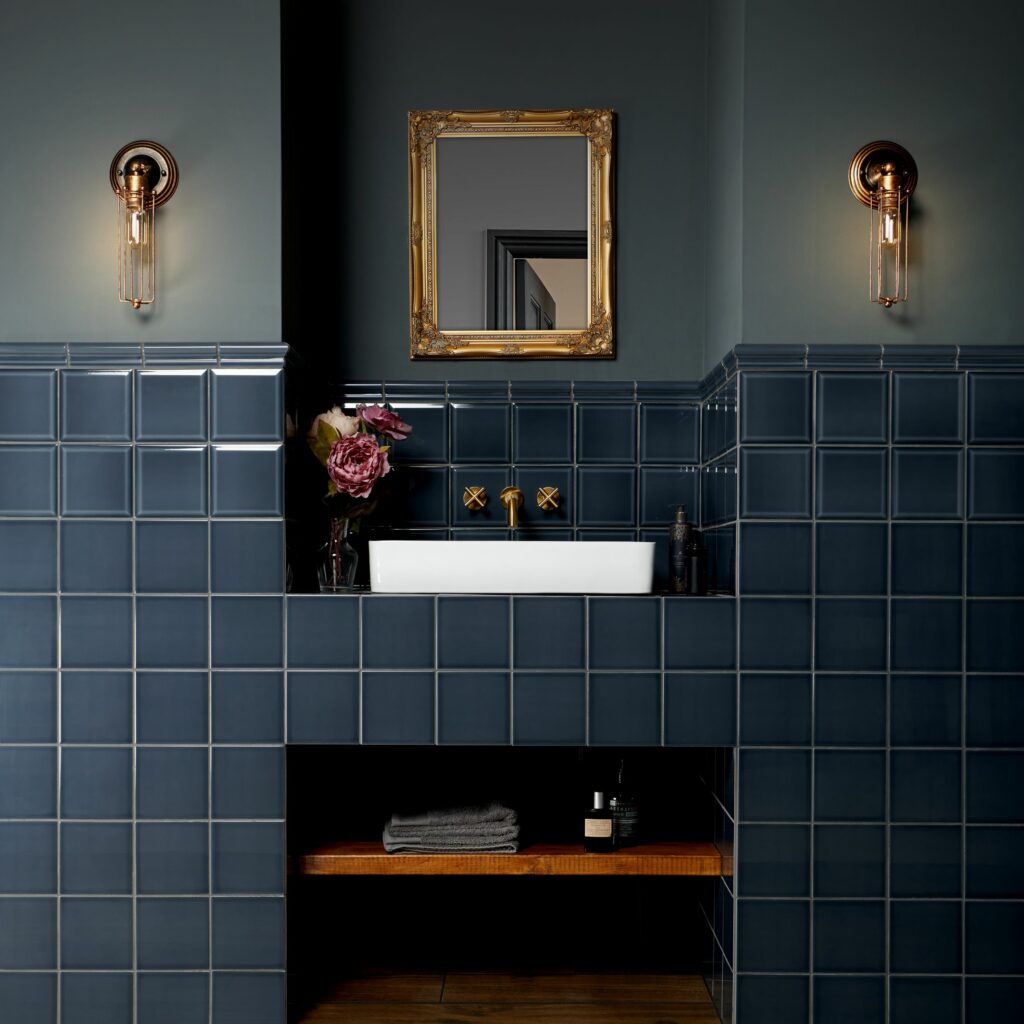
Above, Marmalade Rene Pick n’ Mix Gloss Tiles
5) Waterproofing
If you’re tiling a shower area or wet room as part of your bathroom project, you’ll need to waterproof the substrate before tiling, to stop the water from damaging your wall and floor spaces! We have an easy-to-use waterproofing kit.
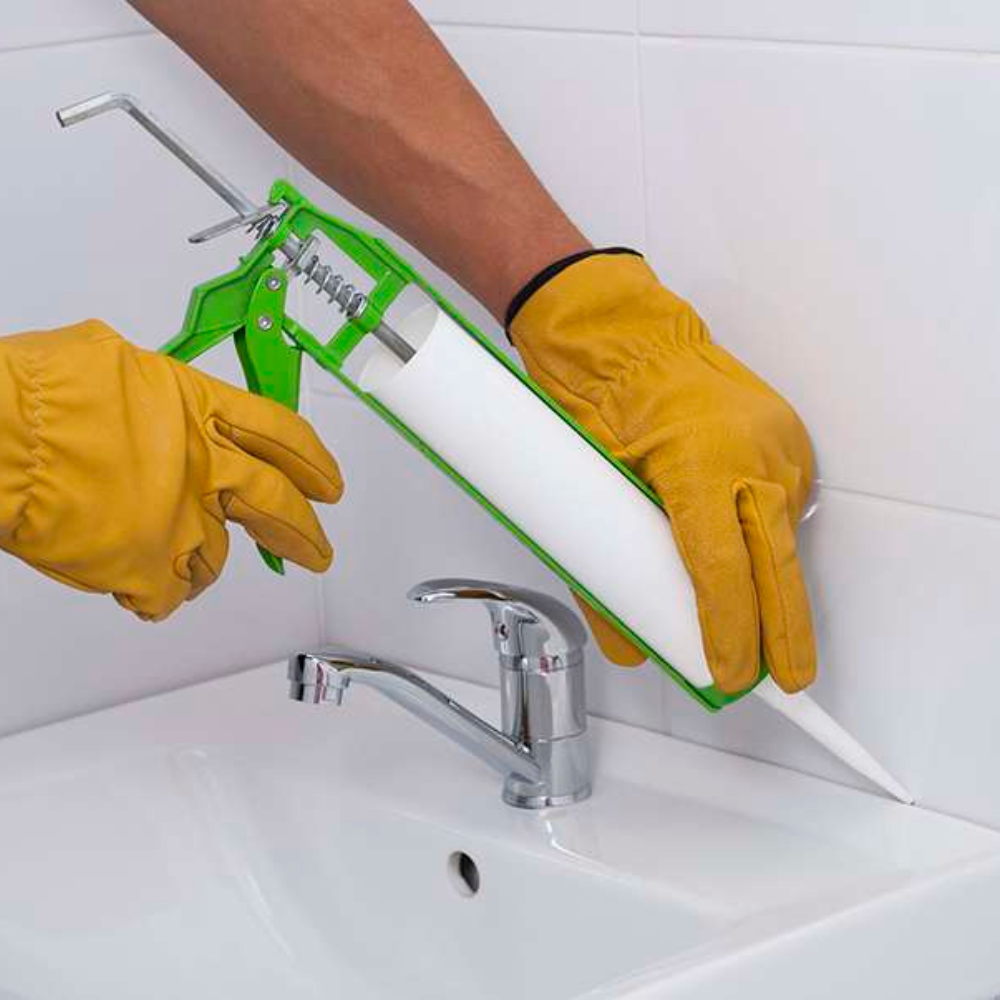
6) Silicone sealant
Once you’ve finished your tiling, you’ll need to seal any edges that may come into contact with water to help keep them watertight. Run some silicone sealant around the edges of the bathtub, shower tray or sink. You can smooth it out with a wet fingertip. If you don’t have some hanging around in the shed, don’t worry – we have some silicone sealant you can choose from.
7) The right tools for the job
The final thing you’ll need to transform your bathroom is a few basic tools!
Pencil, tape measure spirit level
When marking out where your tiles will sit, and when ensuring your base is nice and level, you’ll find it useful to have a spirit level, tape measure and pencil handy.
Mixing bucket
If you’re using powdered grout and adhesive, you’ll need a mixing bucket to whip up the mixture! You can either use an old bucket from the shed, or you can use one of our mixing buckets.
Spacers
When you’re fixing your tiles in place, you’ll want to keep a consistent gap between them, to allow for your grout joints. That’s what spacers are for!
Adhesive trowel
You’ll need an adhesive trowel for creating your adhesive bed, and ensuring there are nice defined grooves for good adhesion! (Don’t worry if that sounds like Gobbledegook – it’s all explained in our step-by-step How To Tile videos).
Grout float and sponge
You’ll also need a grout float for working your grout into the tile joints once the tiles are fixed in place. Once the grouting is done, a sponge will really help to tidy things up!
Tile cutter
For smaller ceramic tiles, a manual tile cutter will do just fine! For larger ceramic tiles, particularly porcelain and natural stone, you’ll need a wet cutter. These are more expensive, so it’s common to hire these rather than buy, if you’re not going to be tiling several rooms. If you’d like to buy one though, here’s our offering: Electric wet tile cutters.
How to tile your bathroom
Here’s a step-by-step video guide for tiling your bathroom walls…
And here’s a guide for tiling the floor…
Optional extra: Tile trims for the perfect finishing touch
You might end up with some unfinished edges in your bathroom – particularly around external corners, or where the tiles meet carpet, or where the floors meet the walls. Tile trims are a great way of adding the perfect finished edge, and they come in a multitude of designs and colours. Browse our tile trims.
Above, Capsule™ Inked Bevelled Tiles
A touch of luxury: Underfloor heating
If you’d like to add an extra luxurious finish to your bathroom, install some underfloor heating! Warm and cosy underfoot, it’ll add the ultimate comfort and spa-styled feel to your bathroom space.
Above, Scultura Carbone Stone Effect Tiles
RELATED: How to Match New Tiles to Existing Tiles
RELATED: Which Tiling Tools Do I Need For My Project? A Checklist
